Create/Edit a Connections Flow
You can only follow these steps if you have Connections Flows installed. Connection Flows is available in EA upon request. If you believe it aligns with your use case, please contact your Customer Success Manager.
Create a New Connections Flow
1 - Navigate to Builder
To create a new Connections Flow, navigate to Builder (Figure 1 - 1).
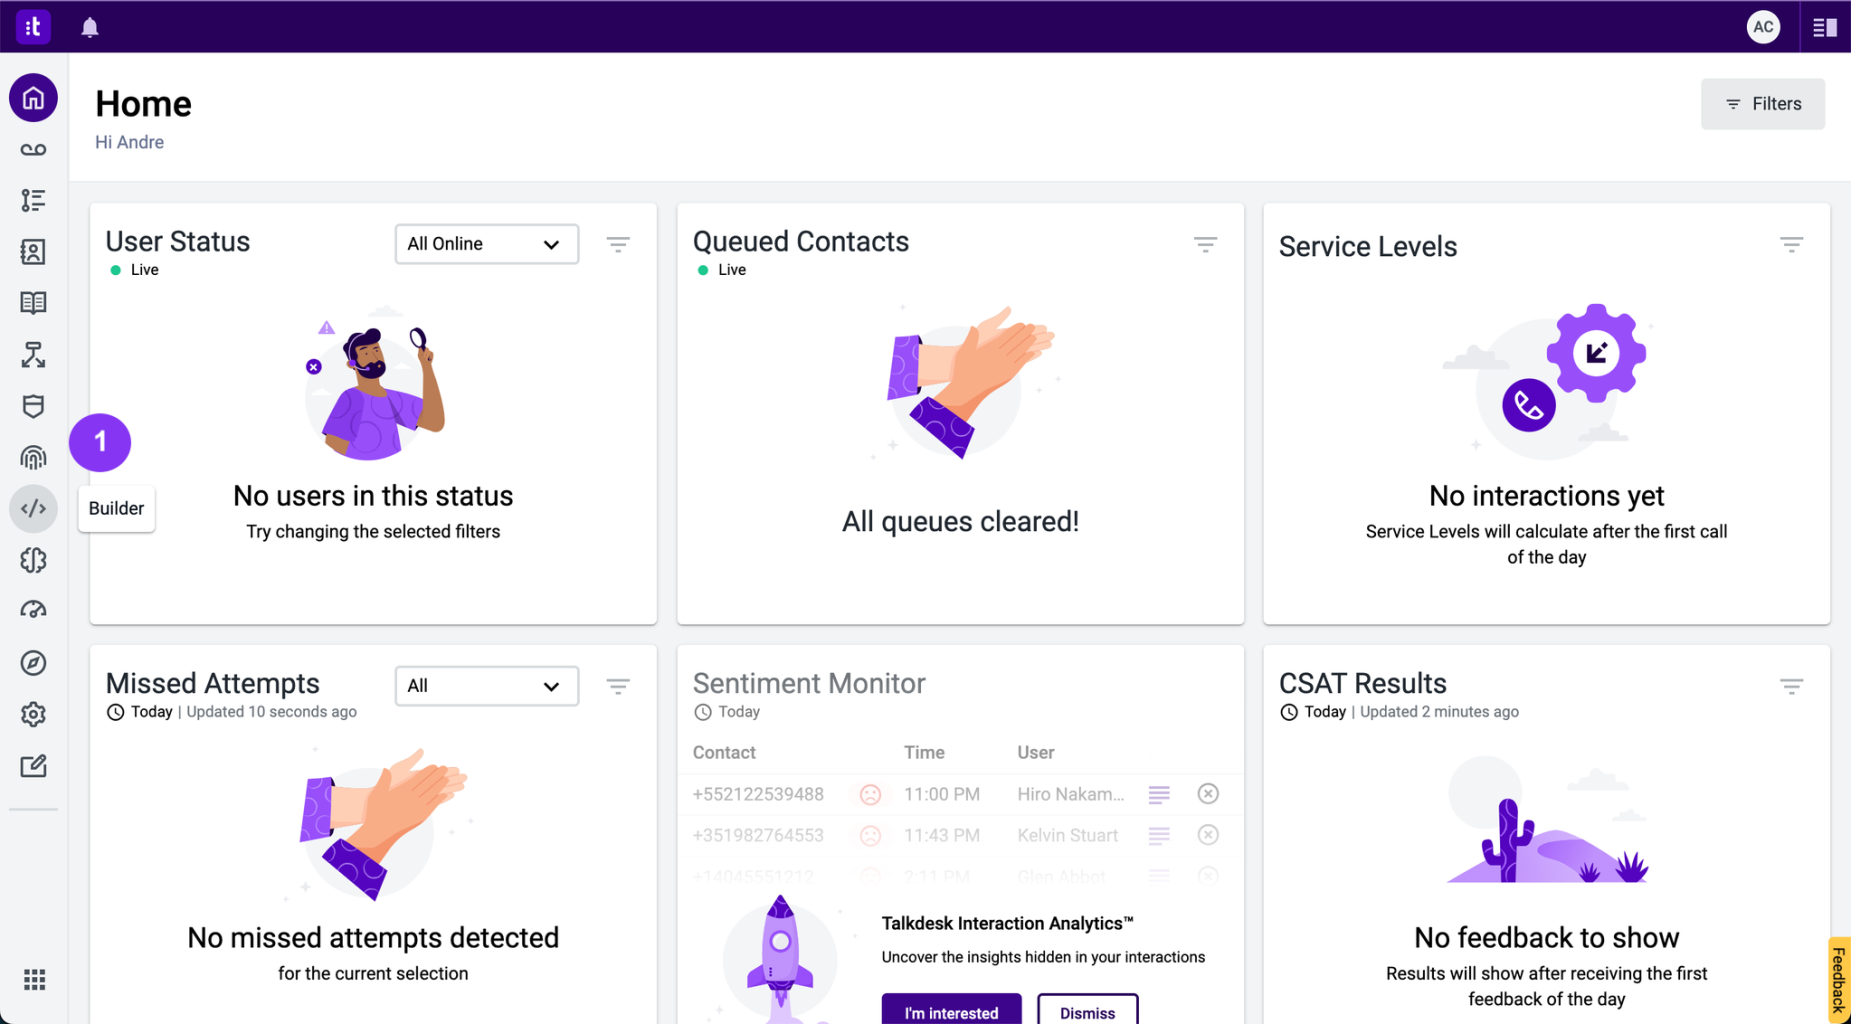
Figure 1 - Entering Connections Flows
Once you are in Builder, you will see a screen as shown in Figure 2. On the right side of the screen, click the Connections Flows option (Figure 2 - 1).
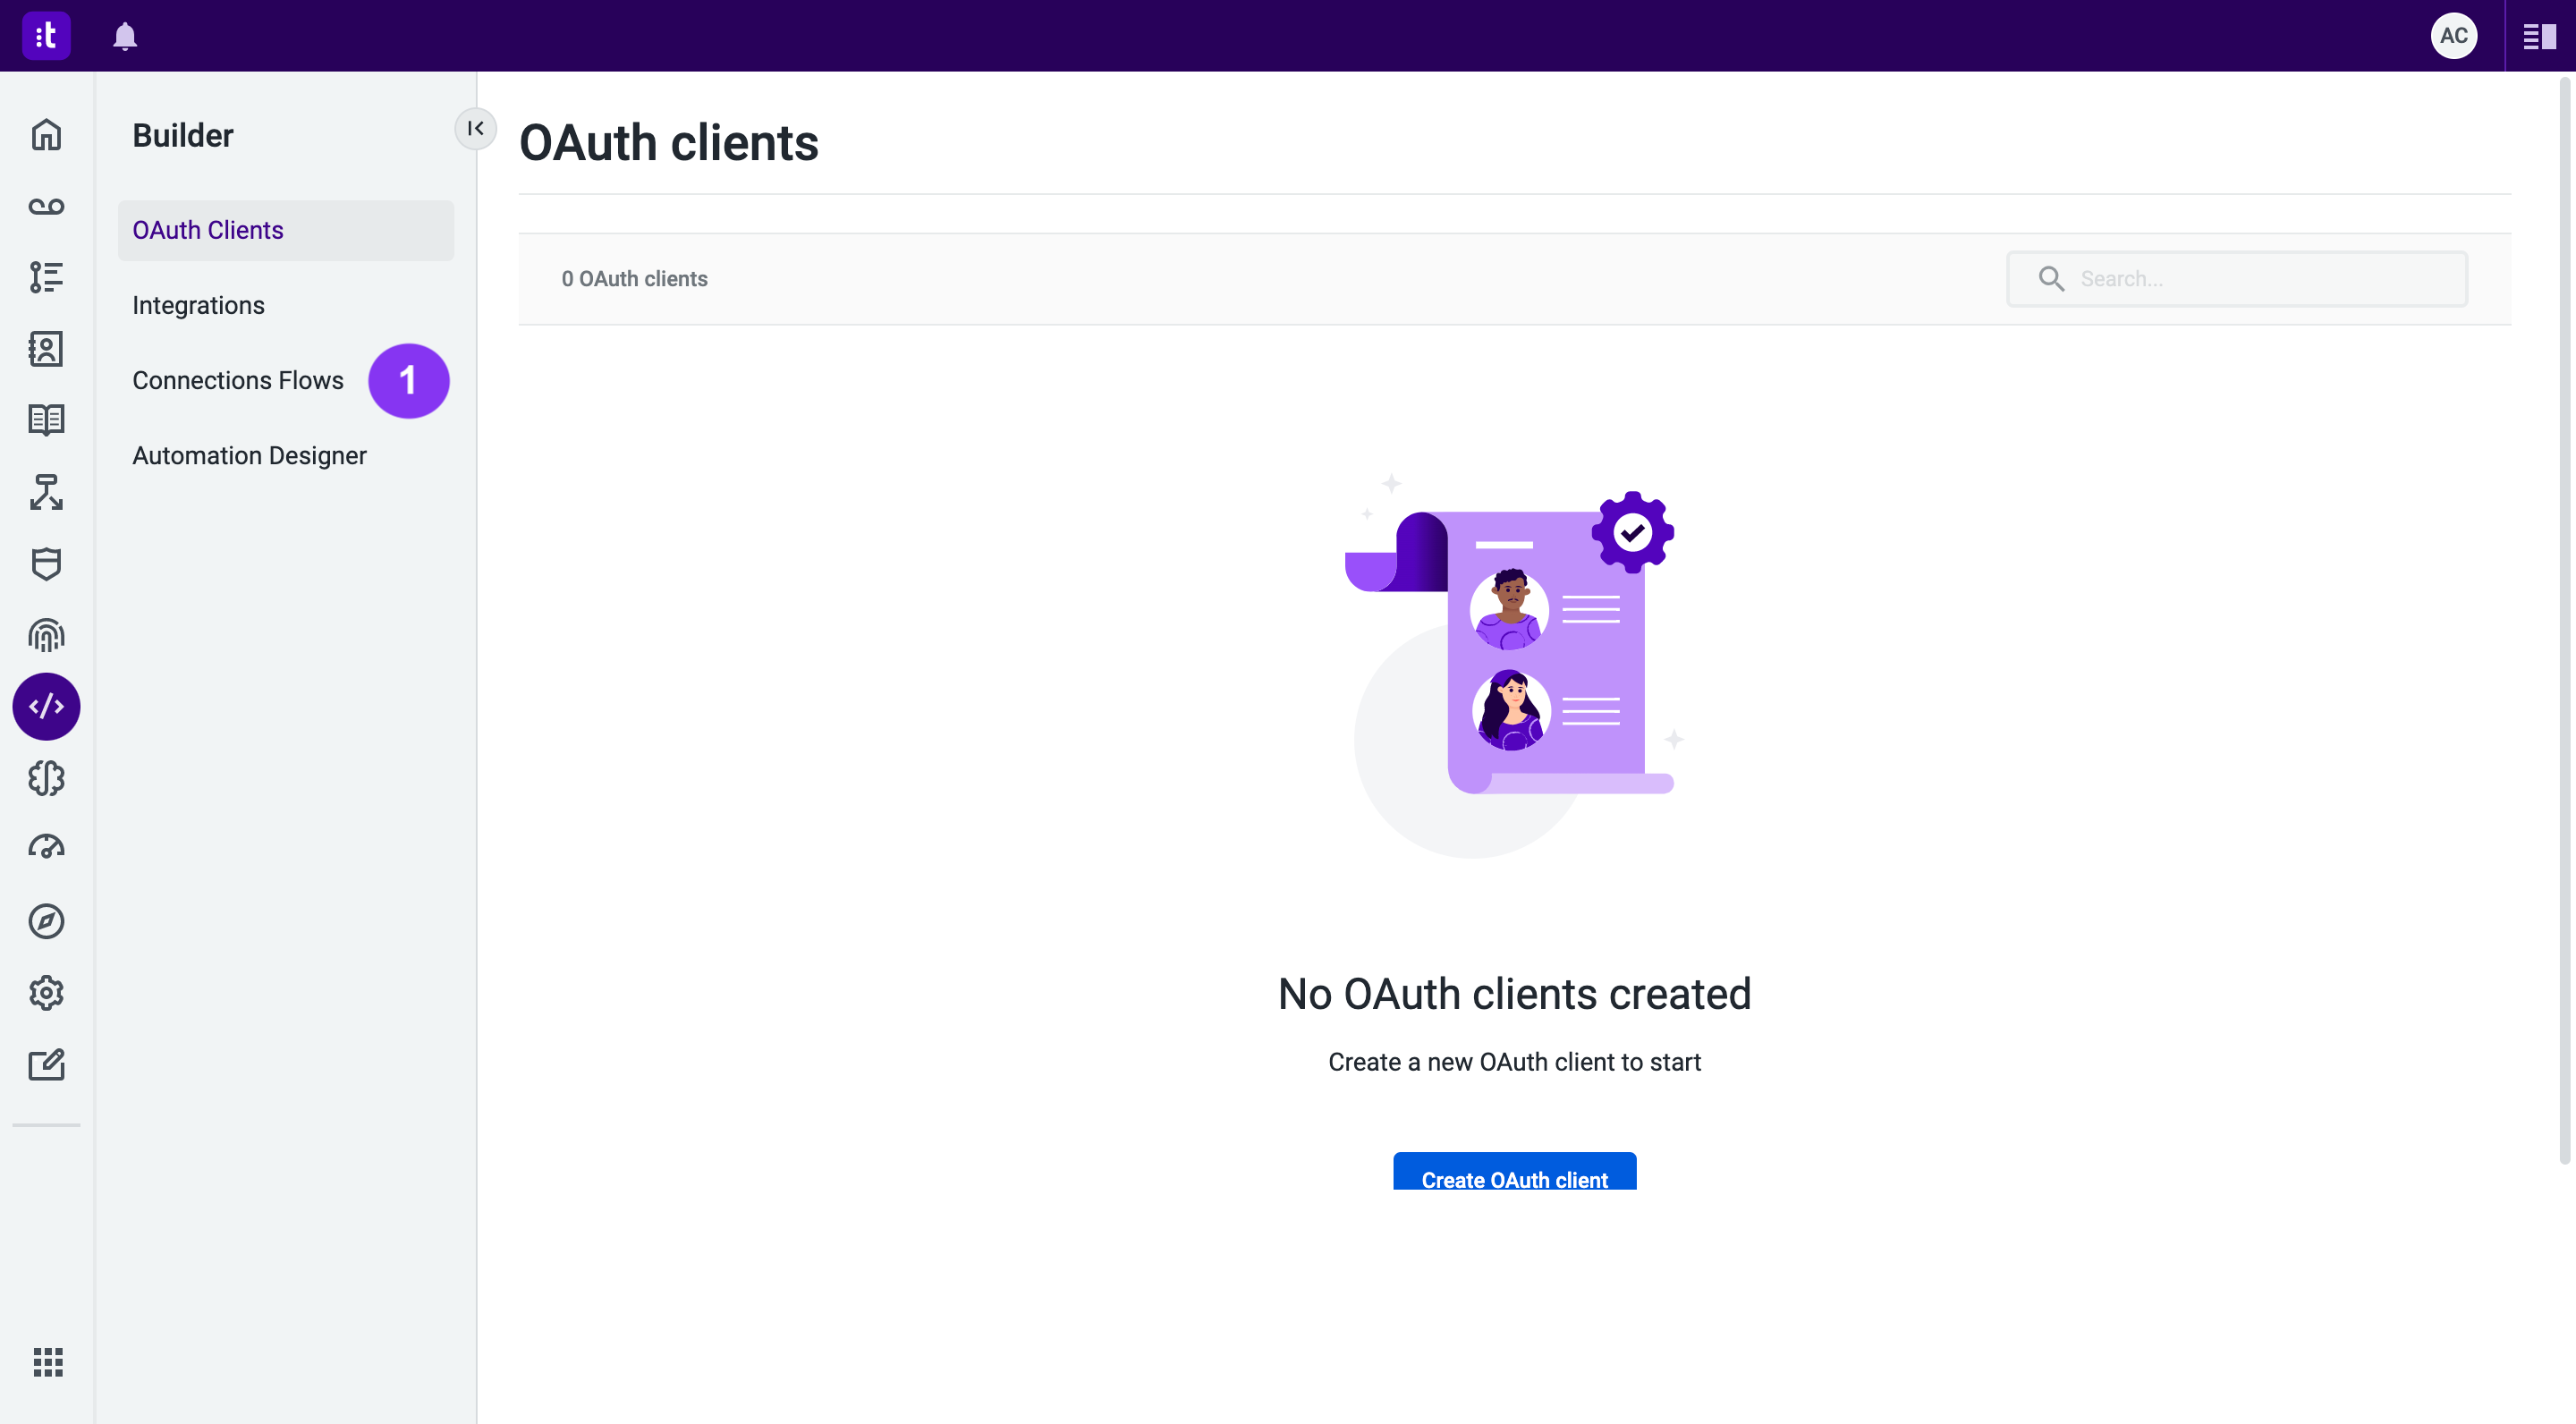
Figure 2 - Builder
2 - Click the Create a Connections Flow Button
When creating the initial flow, you will see an empty list screen. The Create a Connection Flow button will be displayed in the center of the screen (Figure 3 - 1).
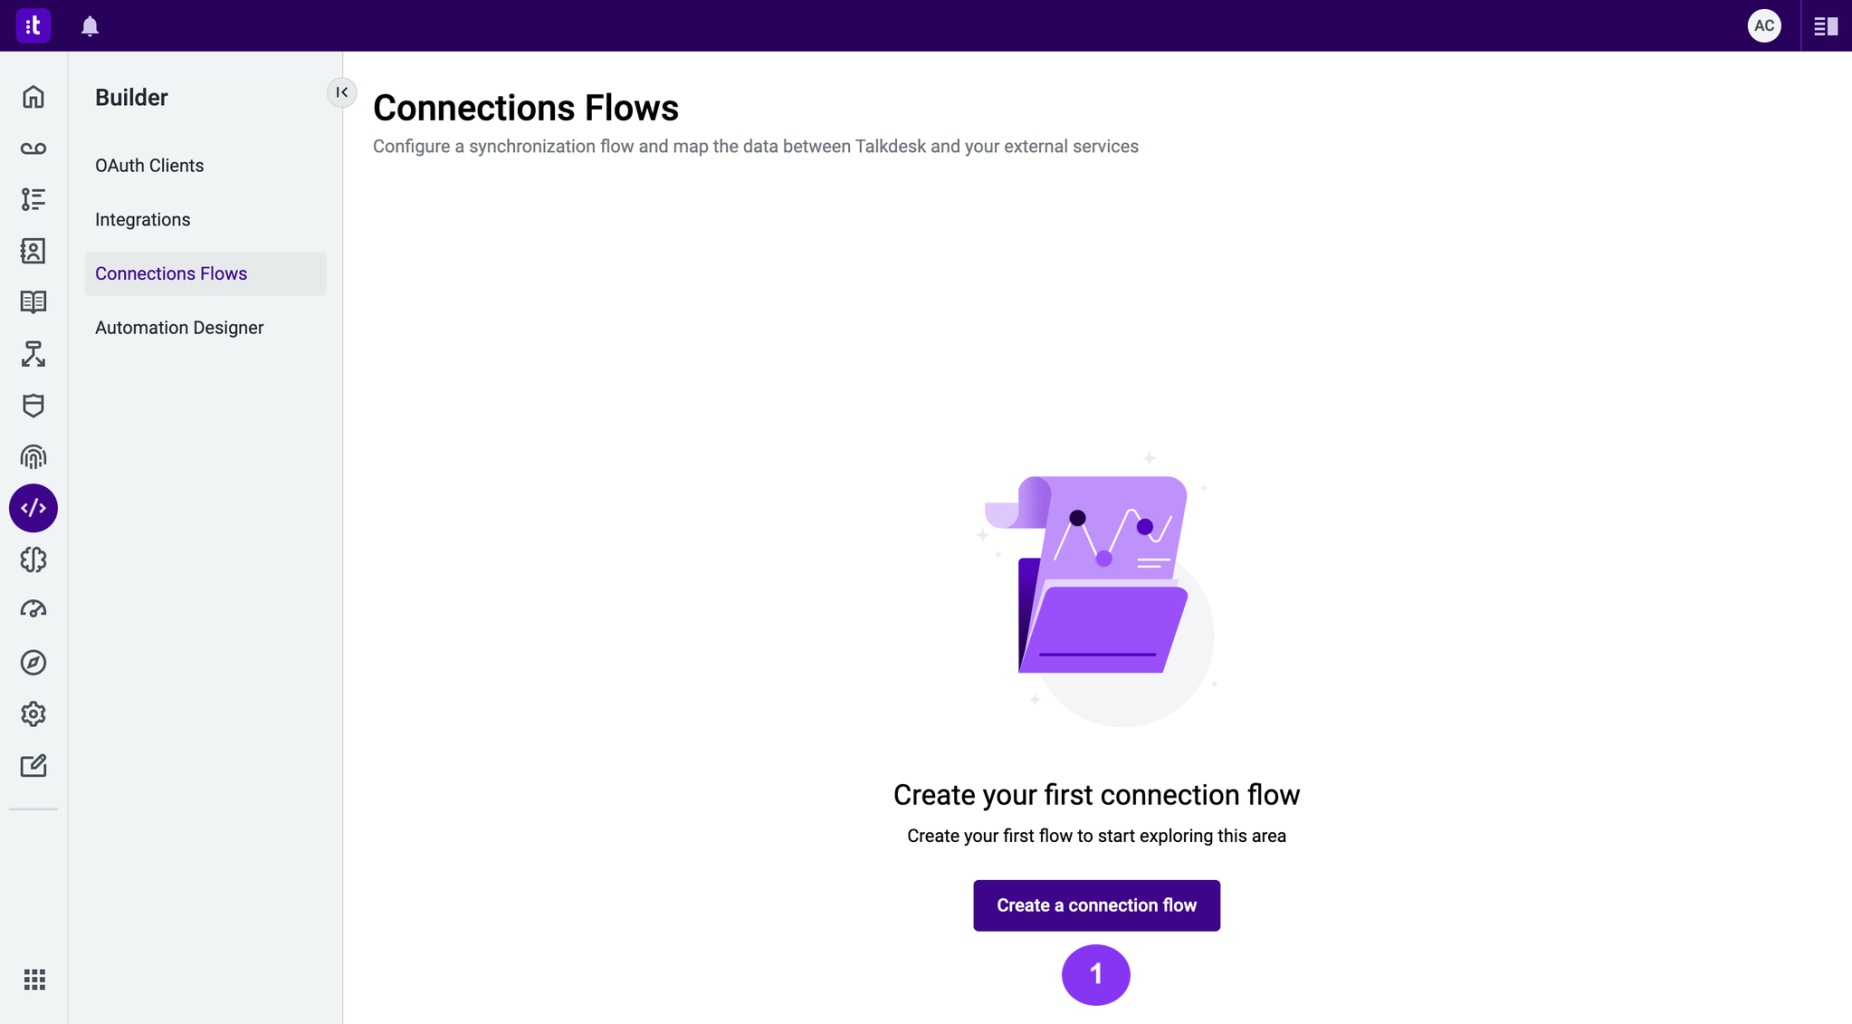
Figure 3 - Create a Connection Flow button
If you already have flows listed in your account, you will see the Create Flow button in the top right corner of the screen (Figure 4 - 1).
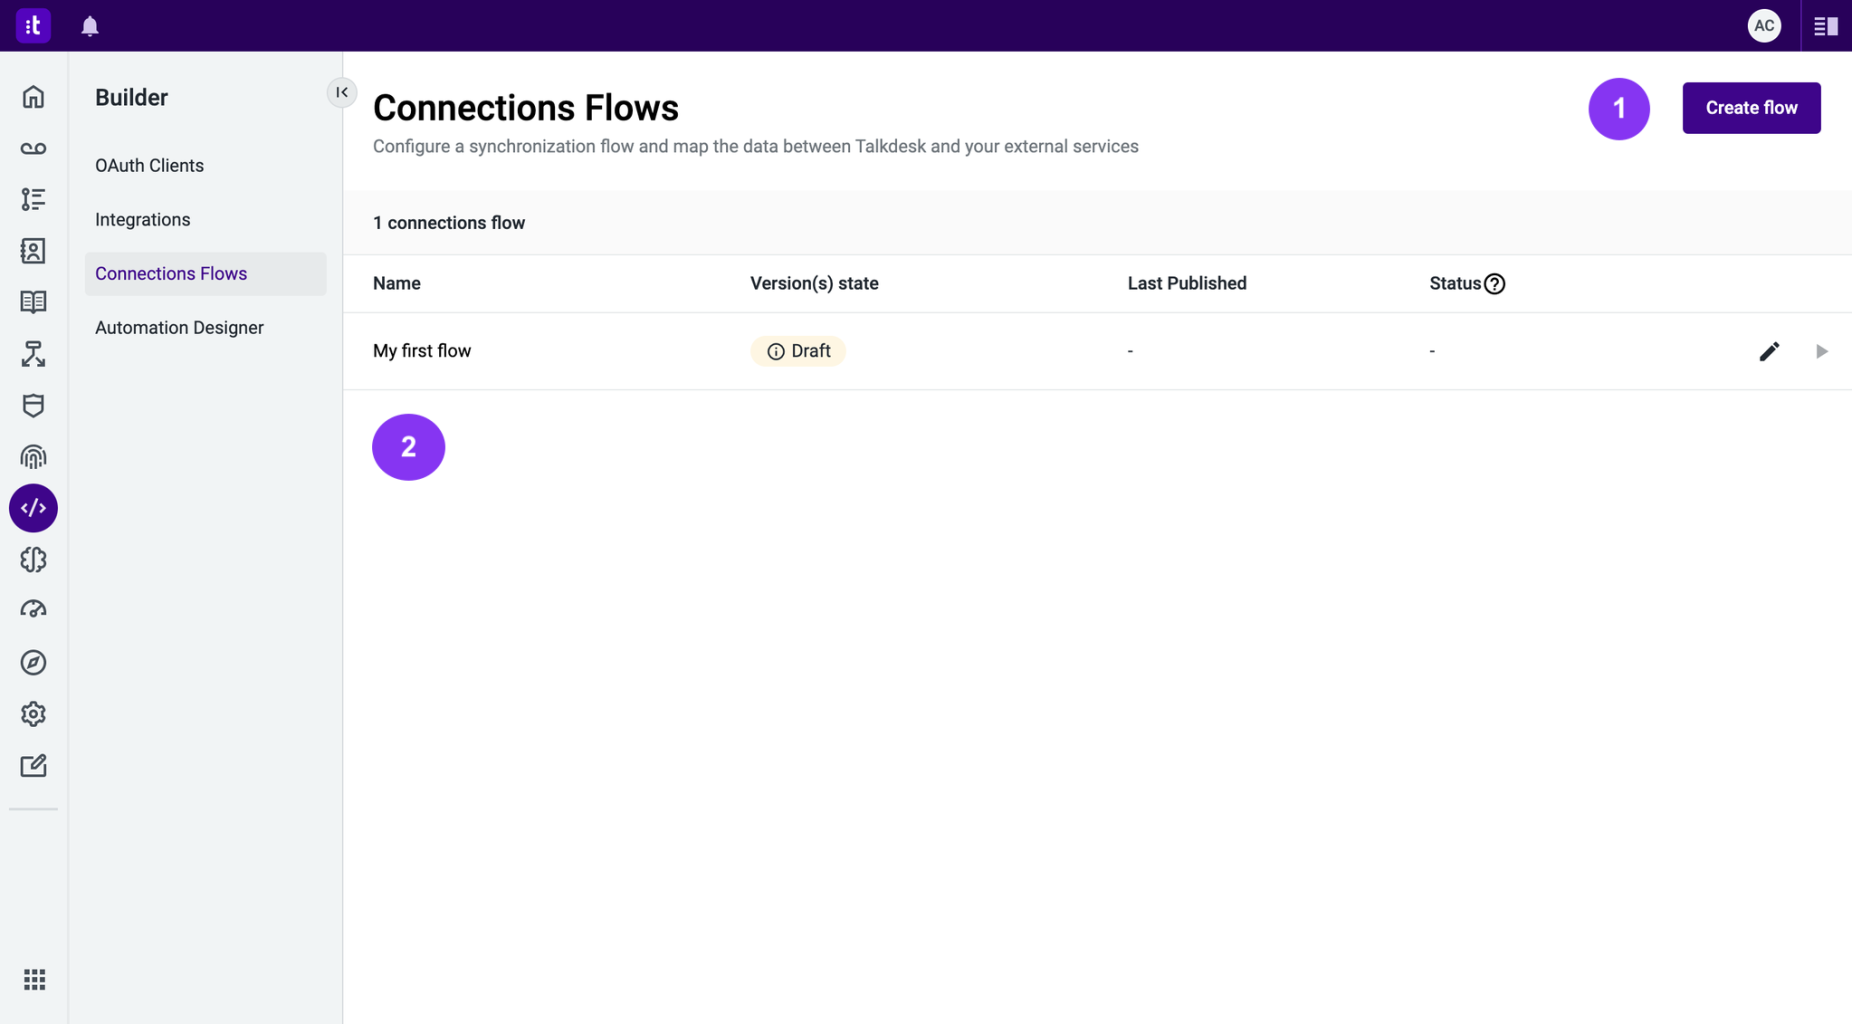
Figure 4 - Create a Connection Flow button
3 - Name Your Flow
Provide a name (mandatory) for your Connections Flow using the Name field (Figure 5 - 1). The name must be less than 50 characters long.
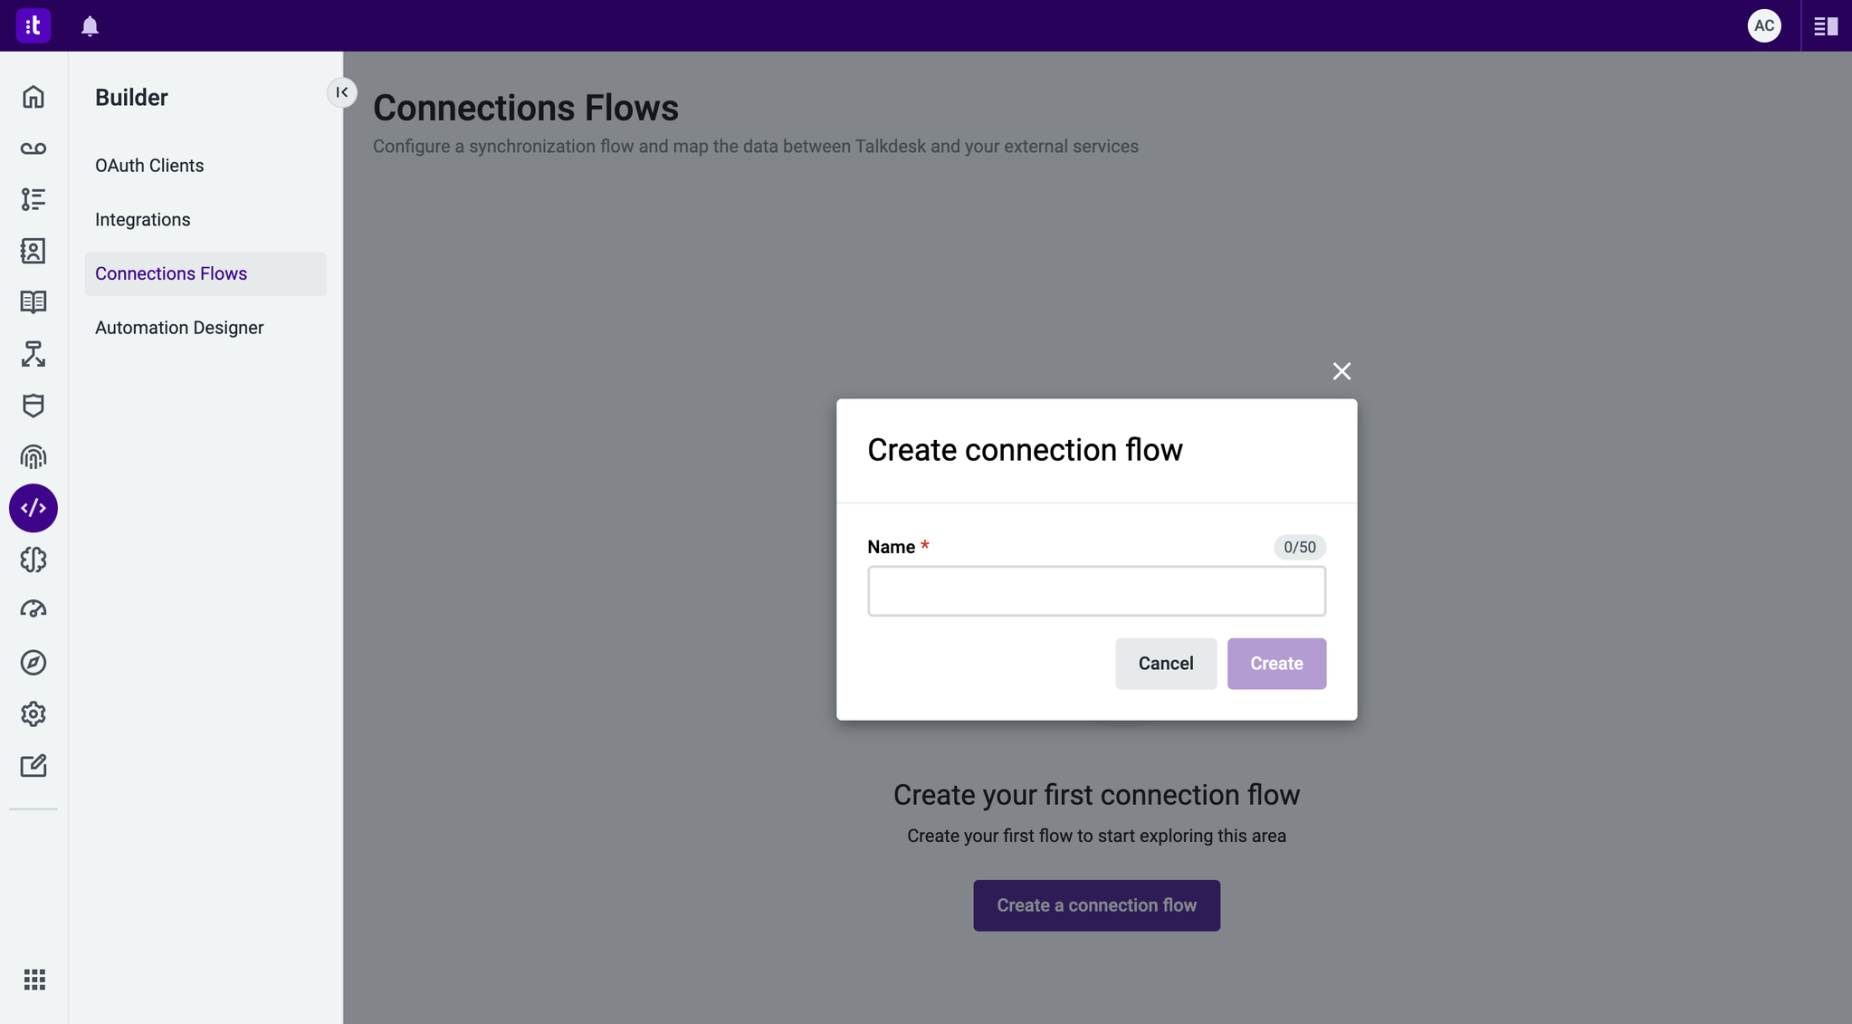
Figure 5 - Naming the connections flow
The Connections Flow's name is final and cannot be changed.
After entering the Connections Flow's name, click the Save button (Figure 6 - 1).
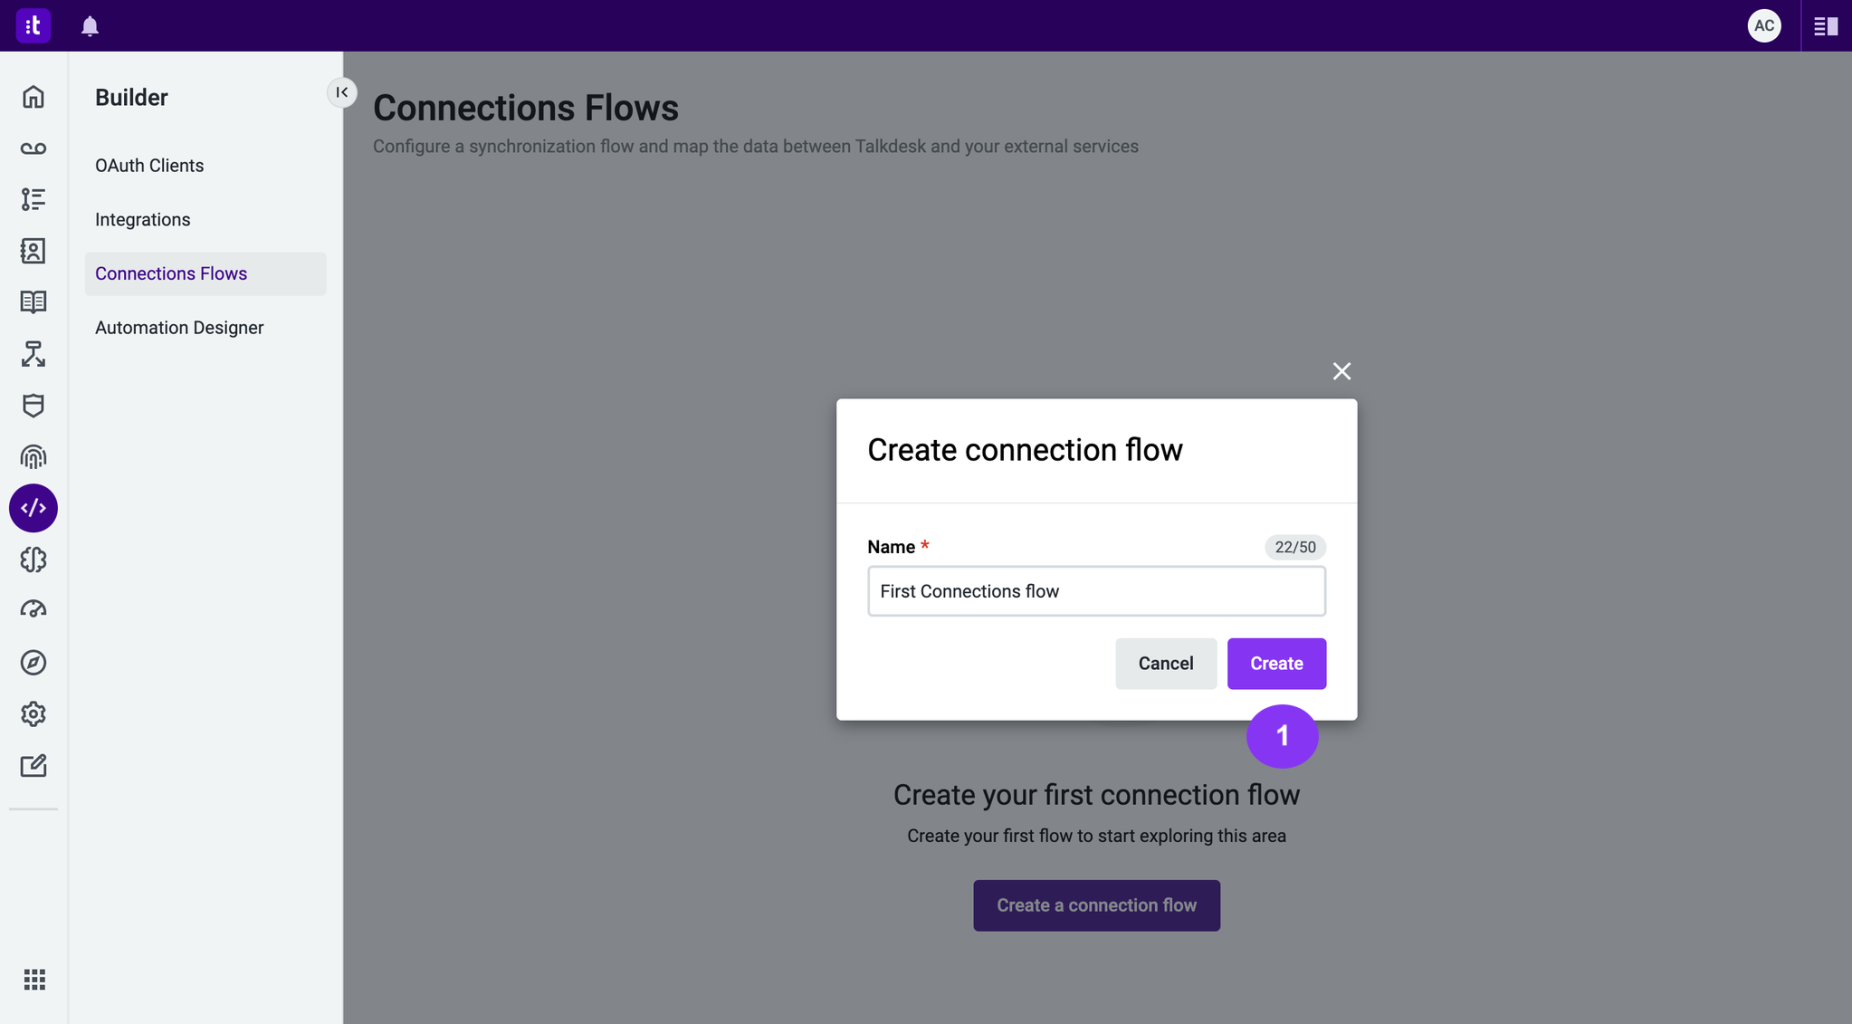
Figure 6 - Creating the connections flow
4 - The New Connections Flow is Generated
Upon clicking the Create button (Figure 5 - 1), the newly created Connections Flow will open in Automation Designer, where you can edit, save (Figure 6 - 1), and publish (Figure 6 - 2) your flow. Saving your flow will validate for any errors and temporarily save your work. Only when you click Publish, your flow changes will be implemented and reflected in the card/canvas usage.
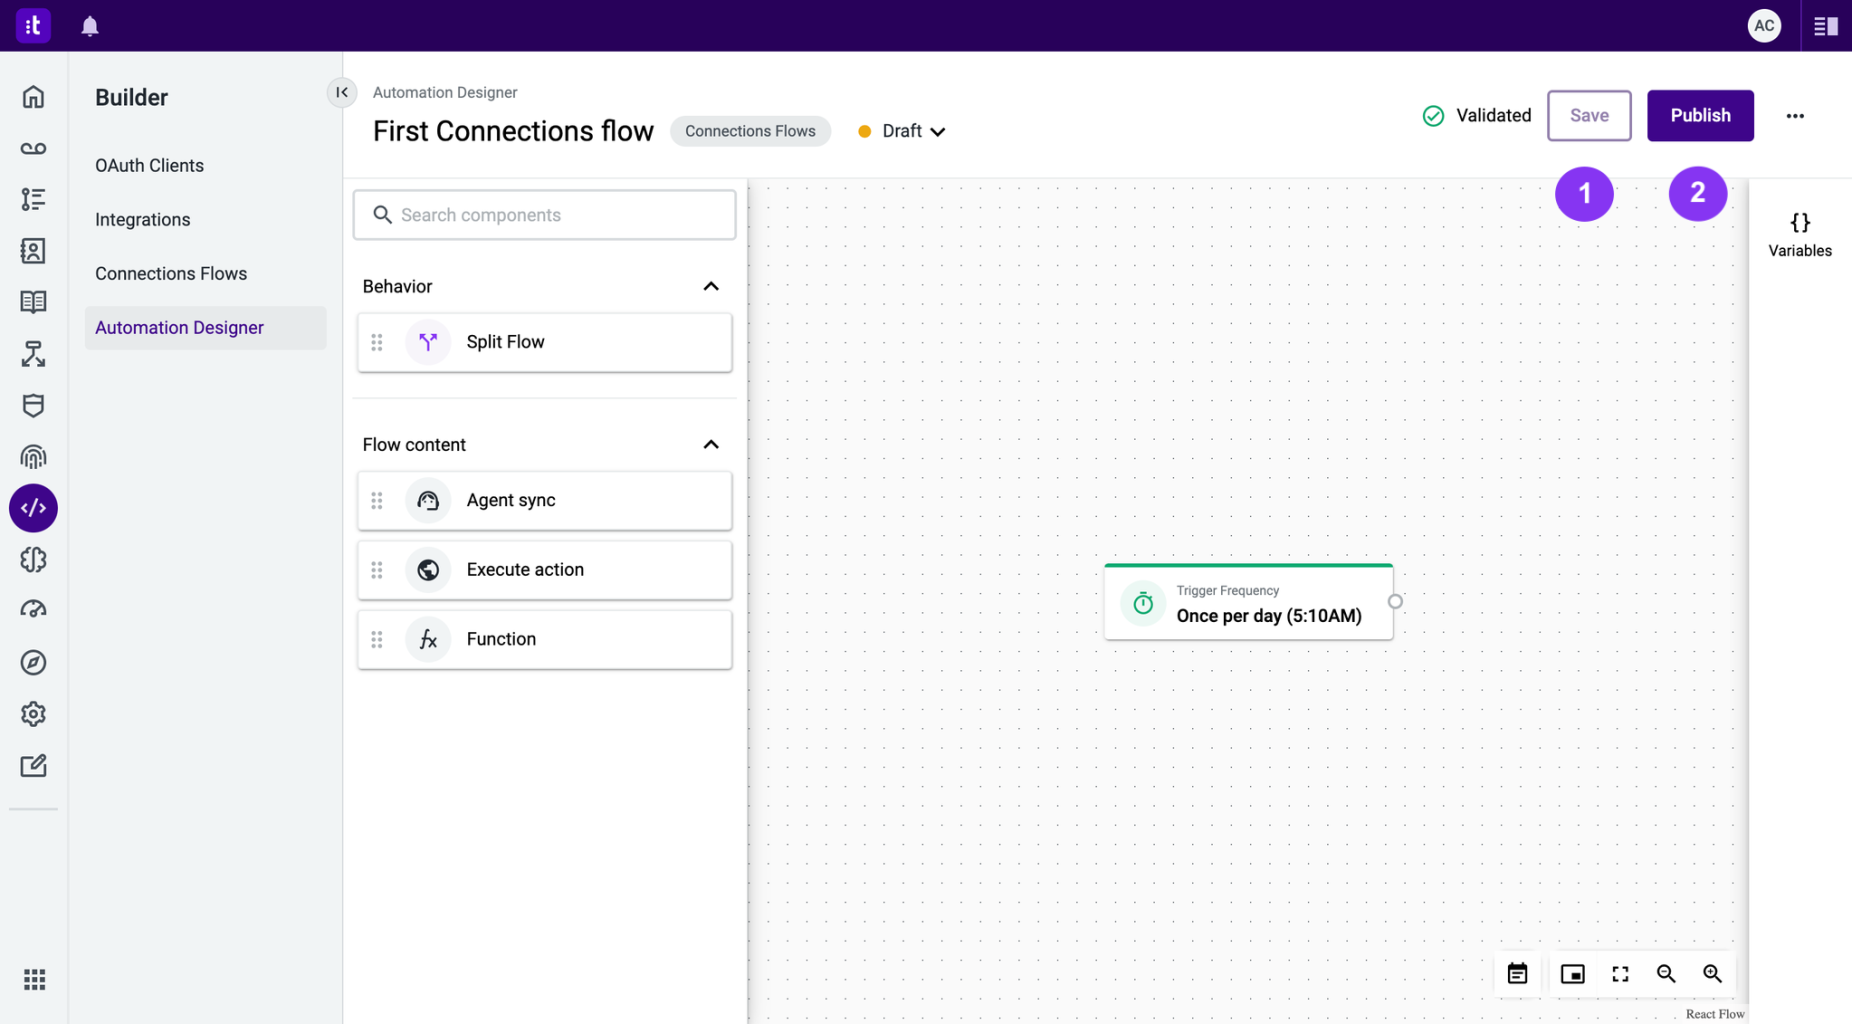
Figure 7 - New Connections flow
The Connections Flow will initially be created with a Frequency Trigger, which is the only trigger supported by Connections Flows. Even without saving or publishing, this flow will exist and can be seen in your Connections Flows list (Figure 4 - 2).
Edit an Existing Flow
1 - Navigate to Builder
To edit an existing Connections Flow, navigate to Builder (Figure 1 - 1), and click Connections Flows (Figure 2 - 1) in the main Workspace menu.
2 - Click the Edit Flow button
To edit a flow, click the edit button (Figure 8 - 1) of the flow you want to change.
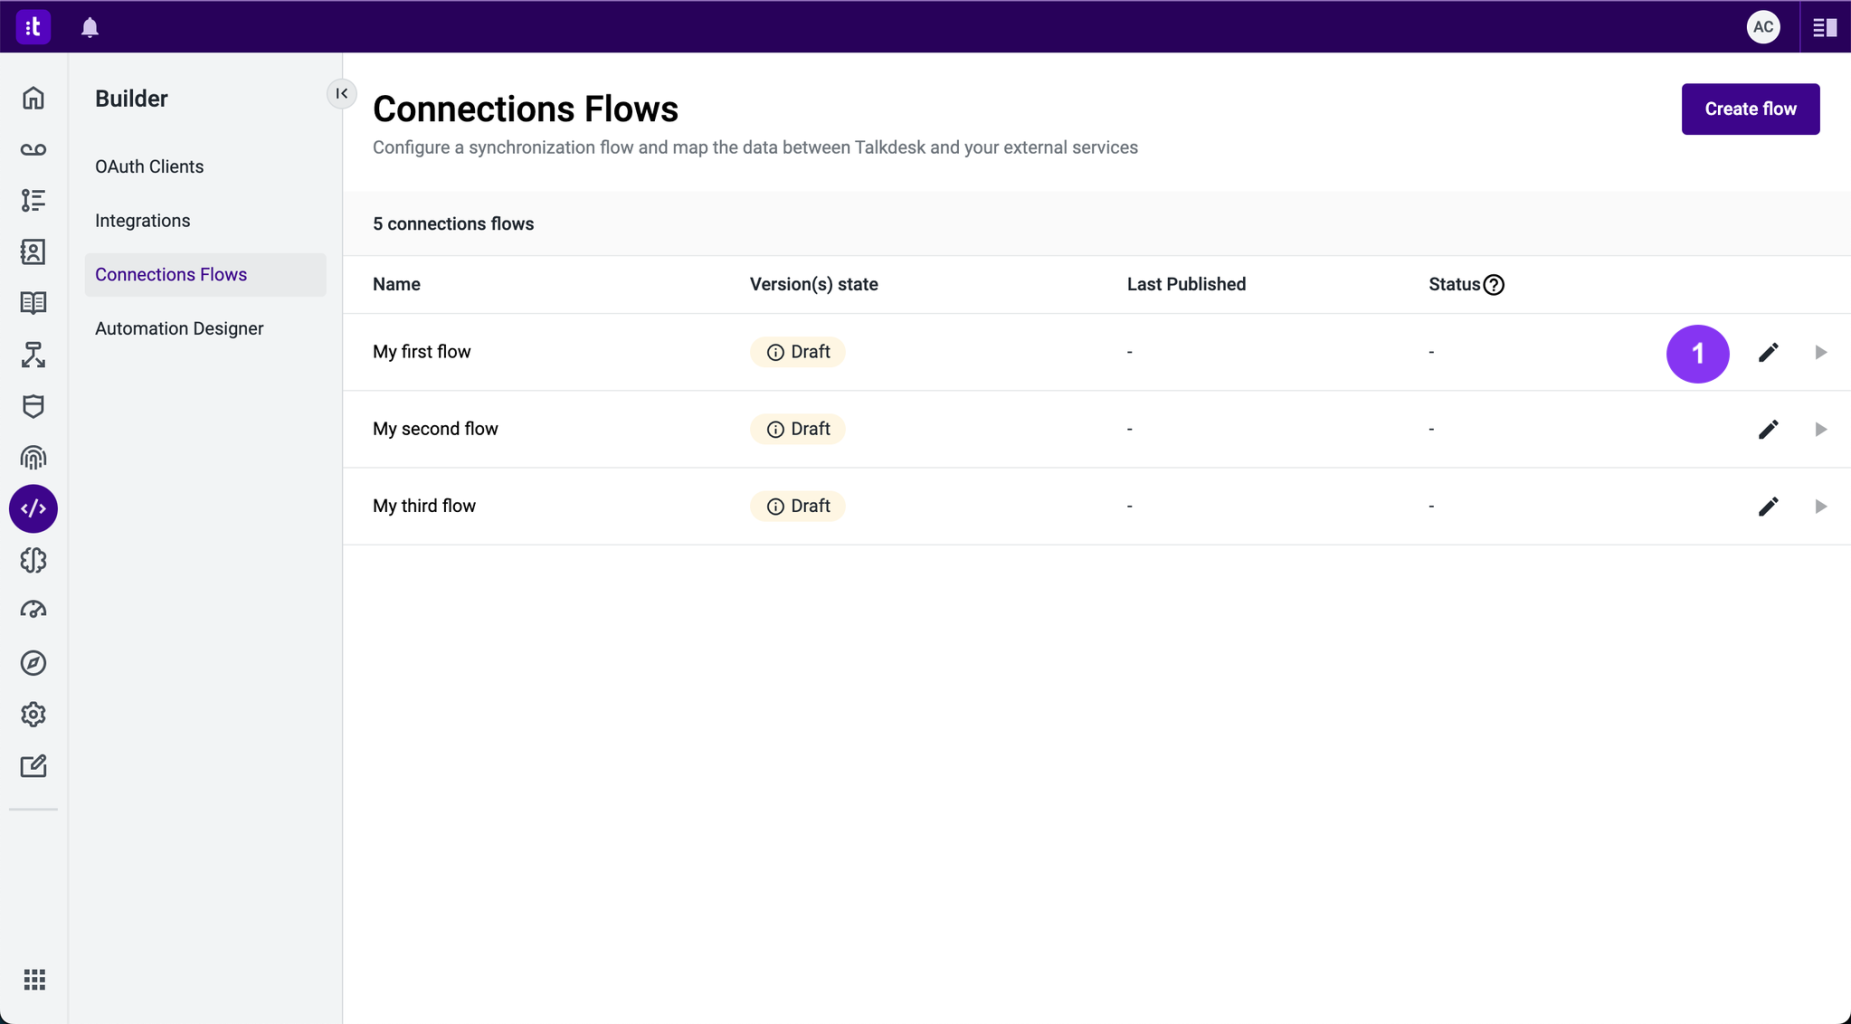
Figure 8 - Edit button
3 - Edit the Connections Flow
Once you click the edit button (Figure 8 - 1), you will be taken to Automation Designer, where you can make changes to your flow (Figure 9). After editing, click Save/Publish. Saving your flow (Figure 9 - 2) will validate for errors (Figure 9 - 1) and temporarily save your work. Only when you click Publish (Figure 9 - 3) will your flow changes be implemented and reflected in the card/canvas usage, enabling that version to be activated.
You can't publish a flow without saving your changes first.
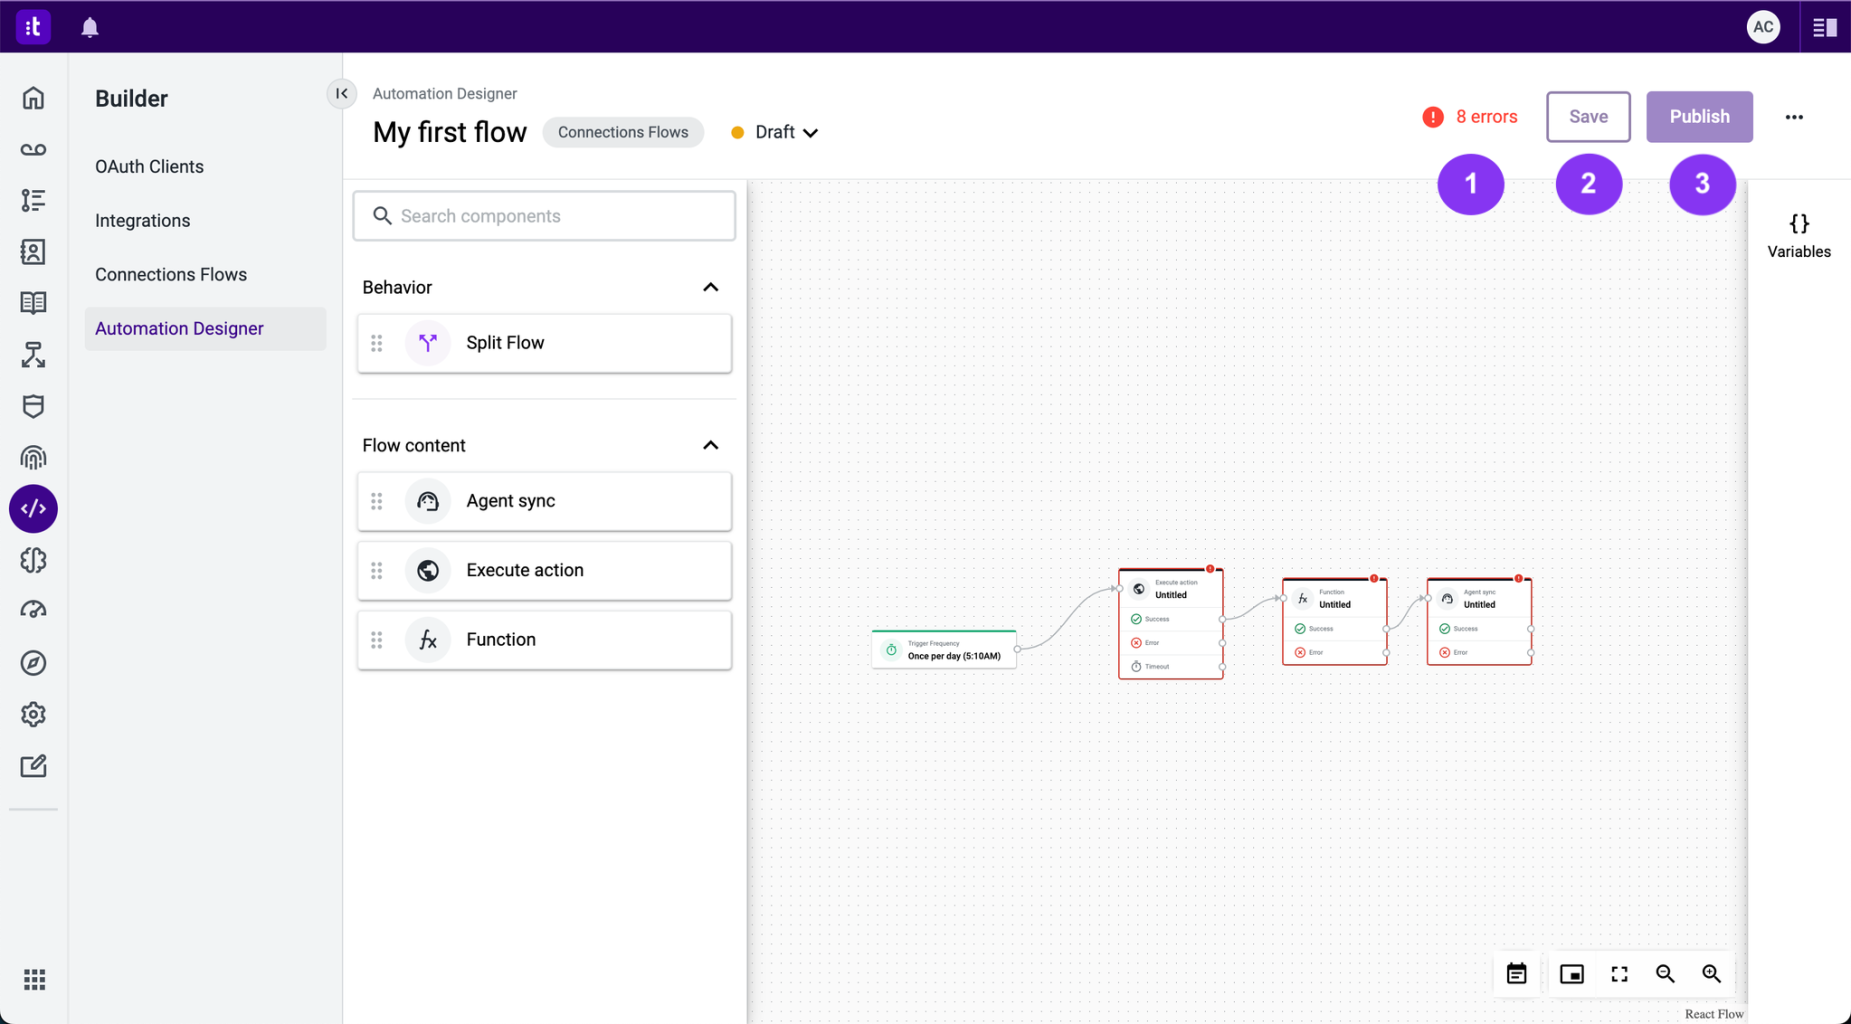
Figure 9 - Editing a Flow
You can't change the name of your Connections Flow.
TroubleshootingIf you have questions or technical issues, please open a ticket using this form.