Common Use Cases
The most common patterns in the Render View component
Hyperlink
You can display a link on a card by using the Render View component. See the code example below (Figure 1).
<Text>MyURL</Text><Link href="https://www.talkdesk.com/">Click here</Link>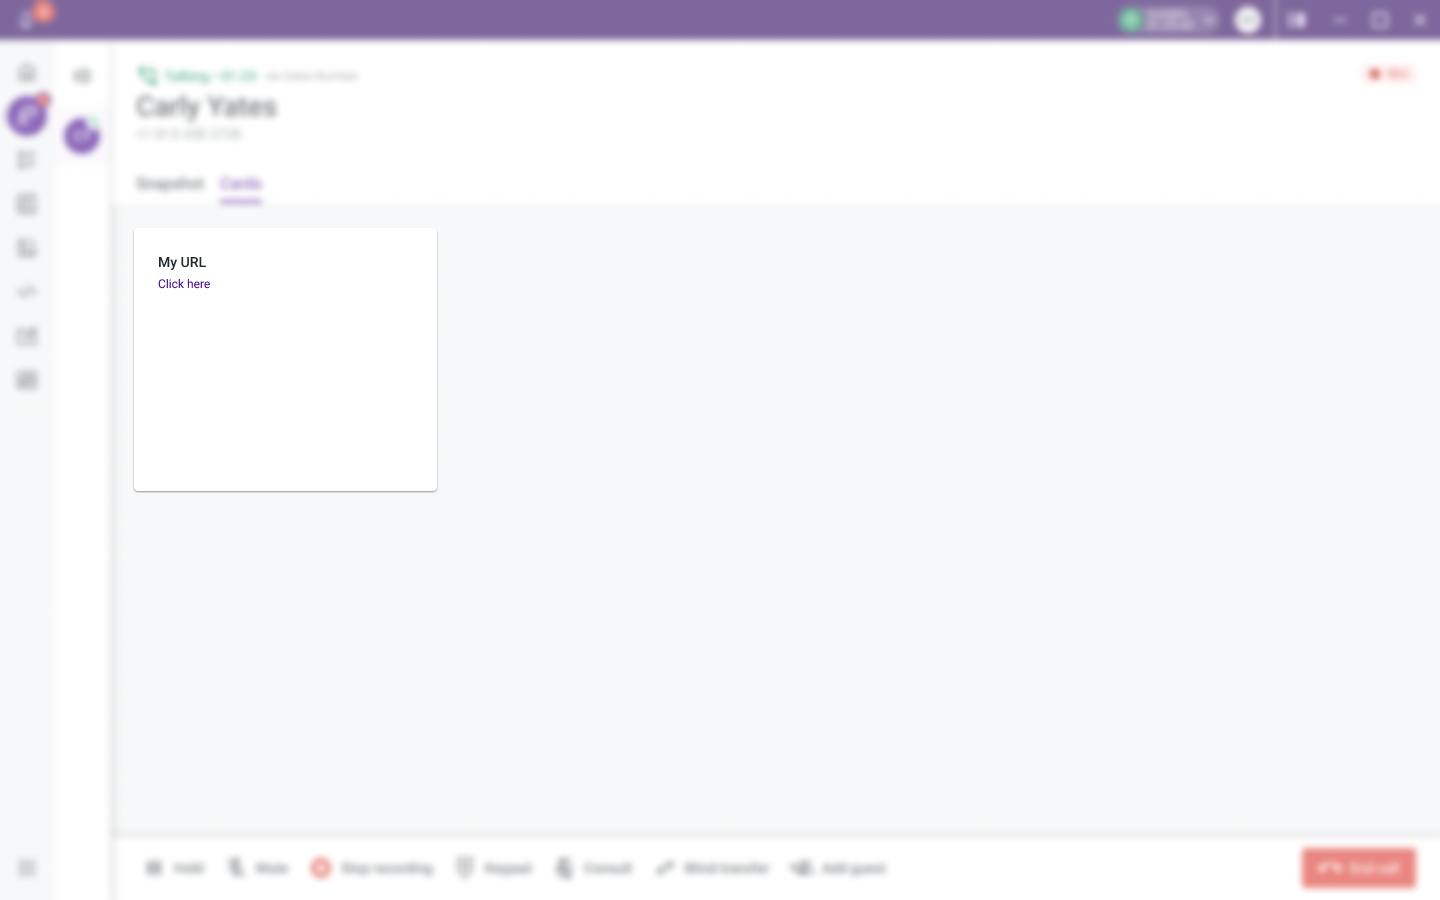
Figure 1 - Hyperlink card example
Displaying Data in a Table
In this example, there is an array of objects and the goal is to create a table interface to show those values (Figure 2).
<Flex width="100%" height="100%" direction="column" alignX="start" padding="4">
    <Heading level="3">Order History</Heading>
    <table>
        <tr>
            {["Order Number", "Price", "Date"].map(label => (
                <th><Label>{label}</Label>
                    <Divider />
                </th>
            ))}
        </tr>
        {[
            { orderNumber: 'PT1234', price: '5000', date: '22/10/26' },
            { orderNumber: 'PT5678', price: '3000', date: '21/04/26' },
            { orderNumber: 'PT1659', price: '1000', date: '22/05/31' }
        ].map(order => (
            <tr>
                <td><Text>{order.orderNumber}</Text></td>
                <td><Text>{order.price}</Text></td>
                <td><Text>{order.date}</Text></td>
            </tr>
        ))}
    </table>
</Flex>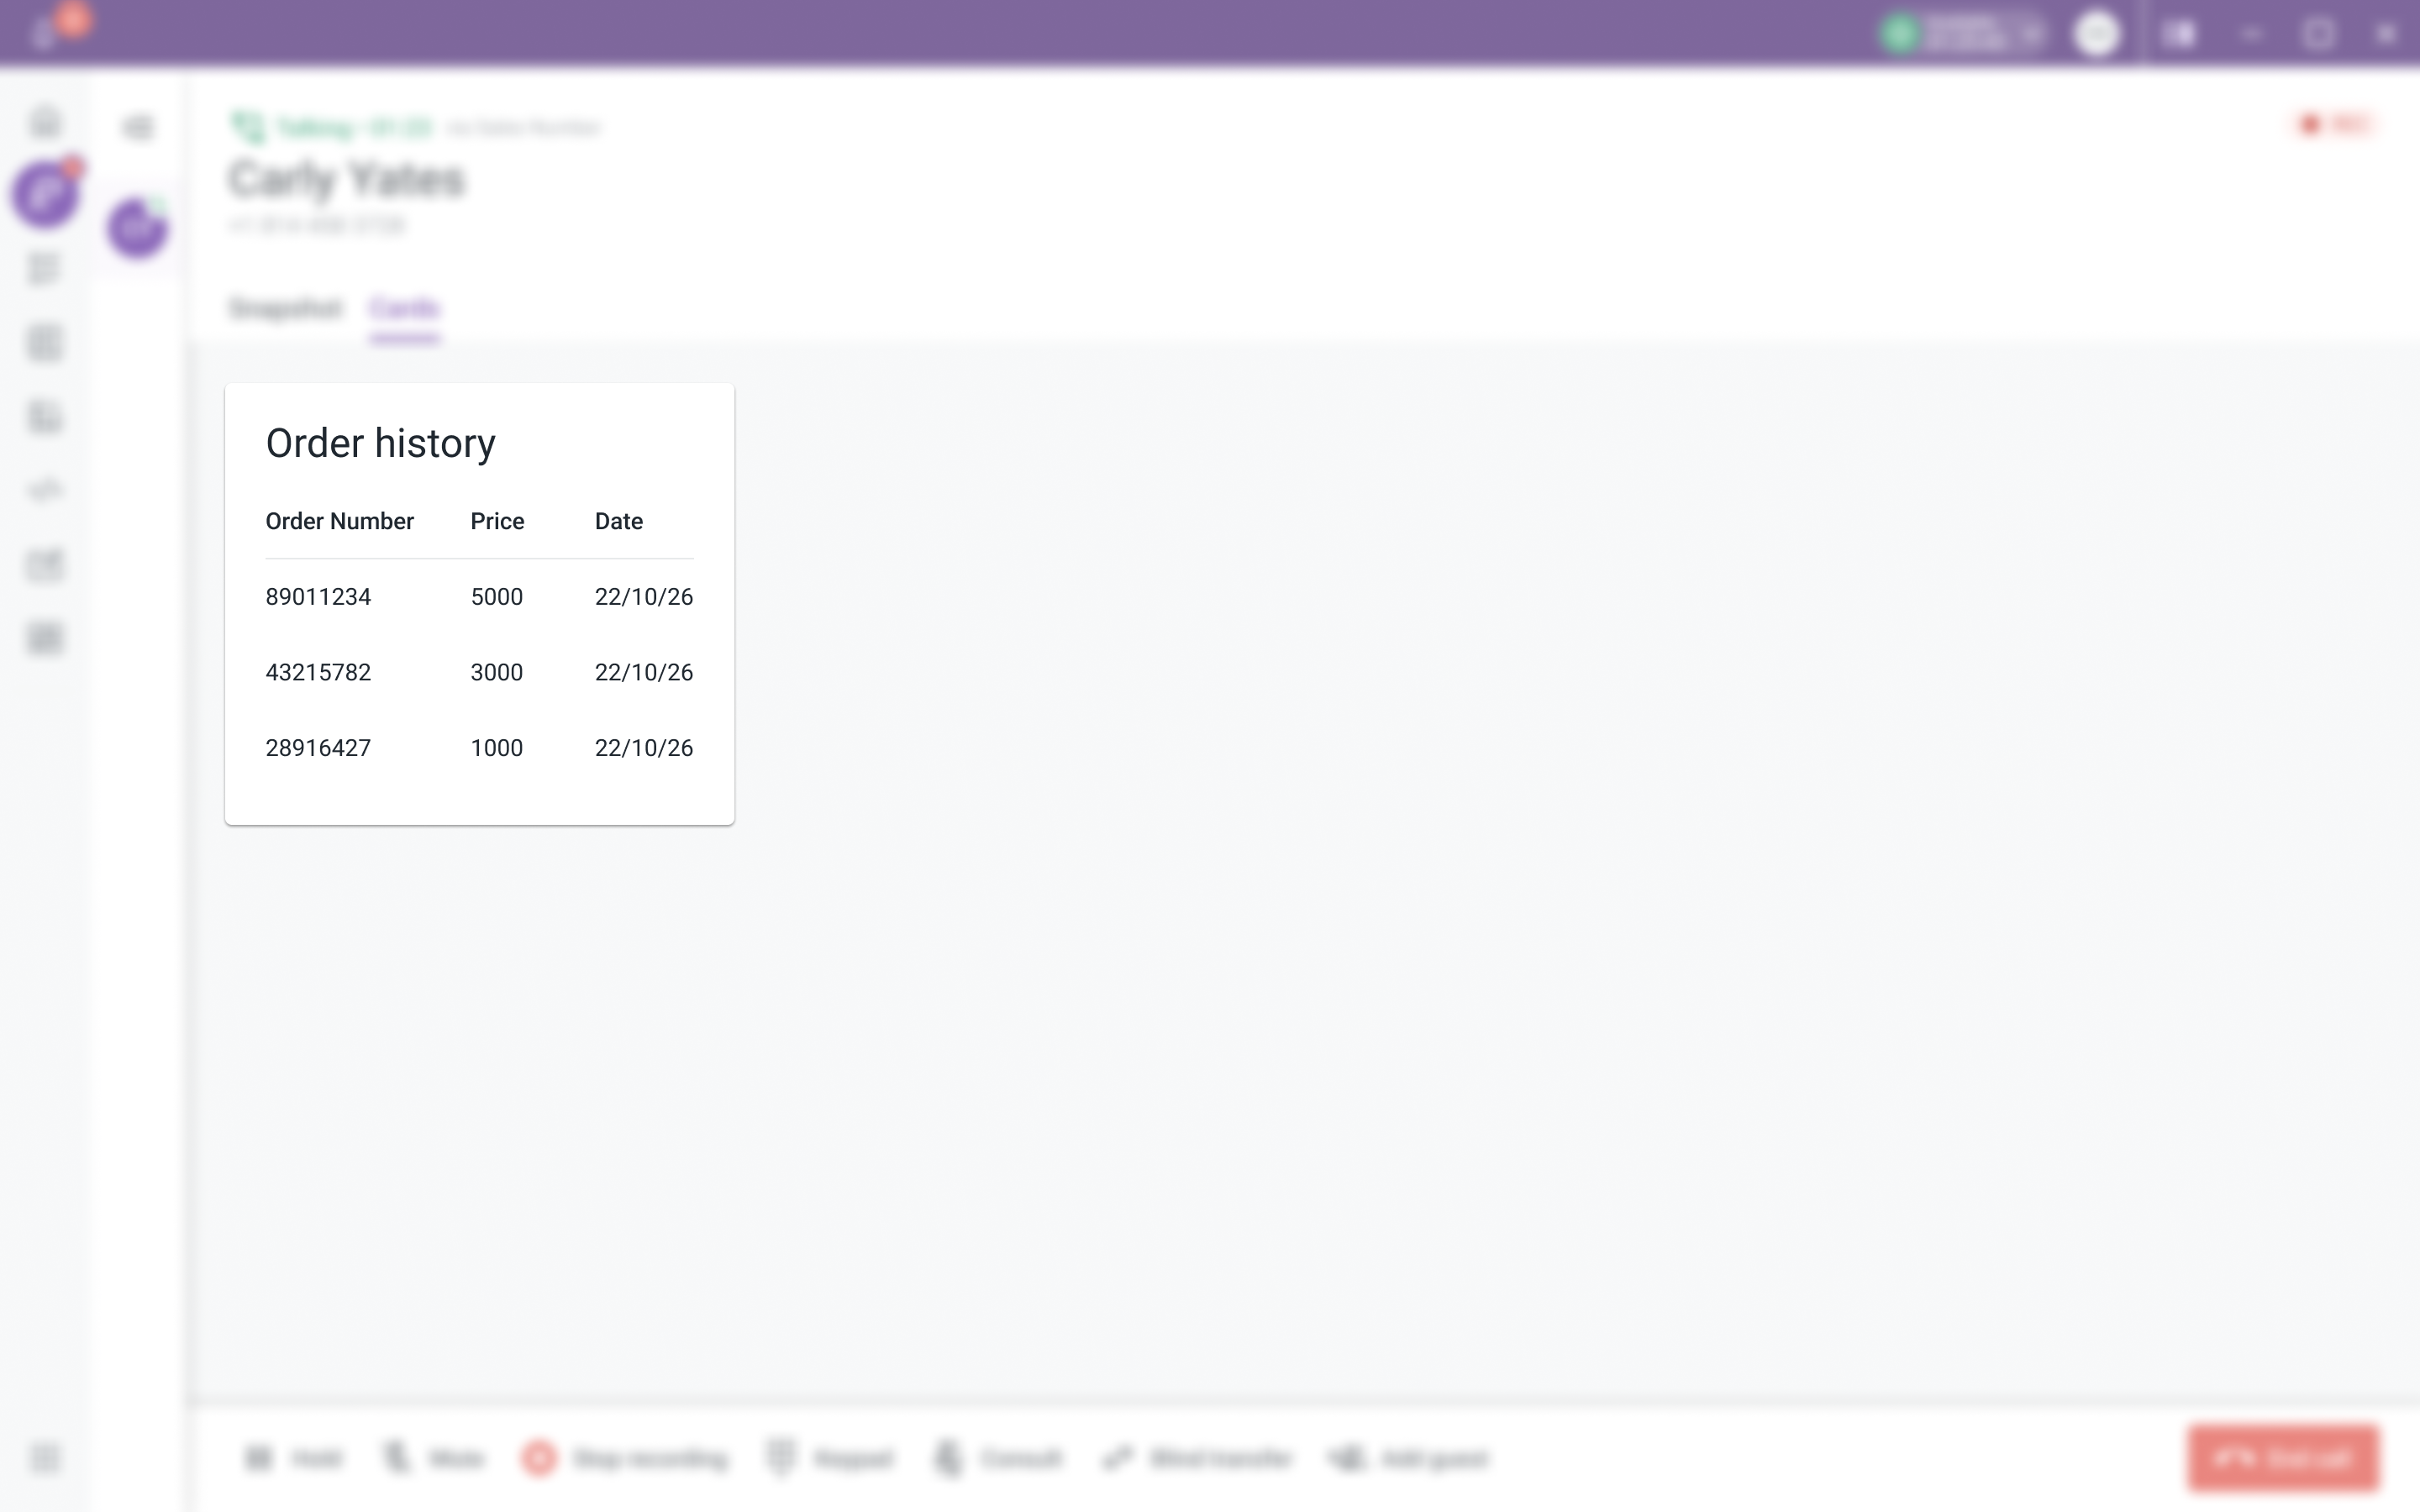
Figure 2 - Displaying data in a table card example
Displaying Data in List Mode
In this example, there is an array of objects, and the goal is to create a list interface to show those values (Figure 3).
<Flex direction="column" paddingX="1" gap="4" direction="column" width="100%">
    {[
        { label: 'Order Number', value: 'PT1234' },
        { label: 'Price', value: '5000€' },
        { label: 'Date', value: '22/10/26' }
    ].map((field) => (
        <Flex gap="1" direction="column" width="100%">
            <Label>{field.label}</Label>
            <Text>{field.value}</Text>
            <Divider />
        </Flex>
    ))}
</Flex>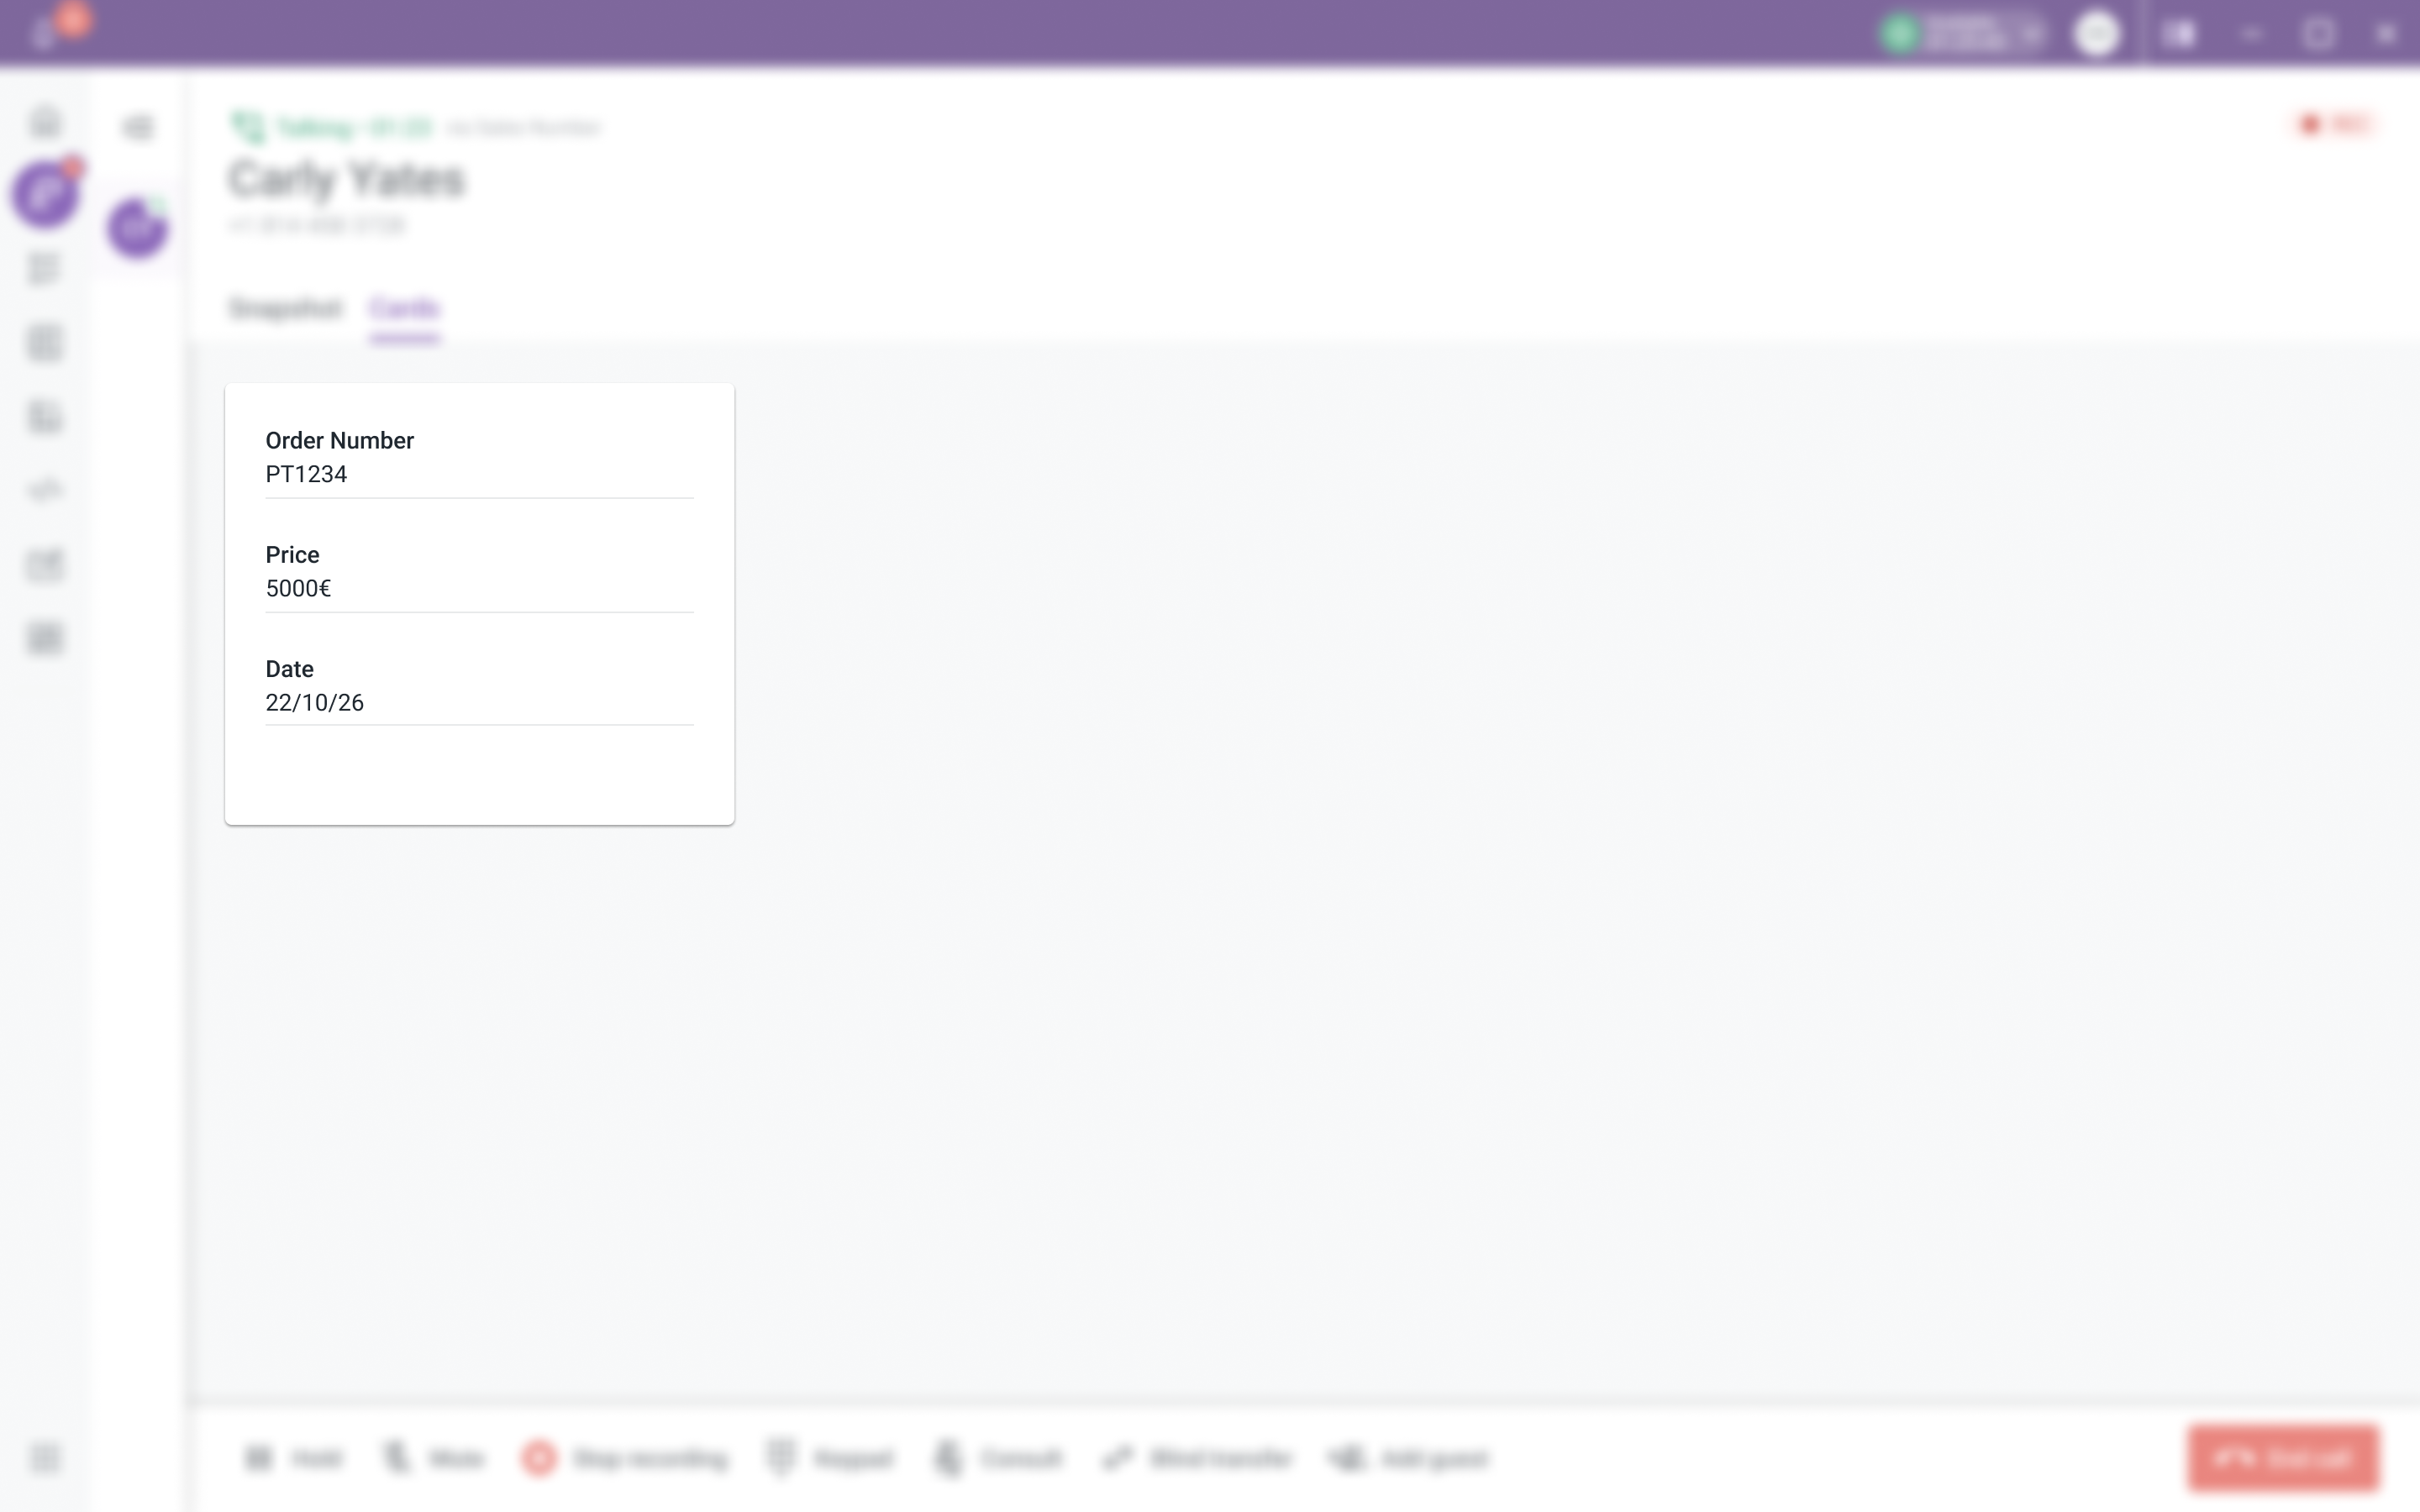
Figure 3 - Displaying data in a list card example
Trigger Action Button
These are basic examples of how you can use a Button to trigger an action.
Setting Custom Variables
This example shows how a Button can be used to set or update variables.
In this scenario, you can use the onClick handler with Context.setVariable(“variable”, “value”) to set the variable value. In this case, it is to confirm the payment variable as true (Figure 4).
<Flex padding="8" direction="column" gap="4" width="100%" height="100%">
  <Text>The reservation {Context.getVariable("reservation_id")} has been created.</Text>
  <Flex width="100%" alignX="end" height="100%" alignY="end">
      <Button onClick={() => Context.setVariable("paid", "true")}>Confirm payment</Button>
  </Flex>
</Flex>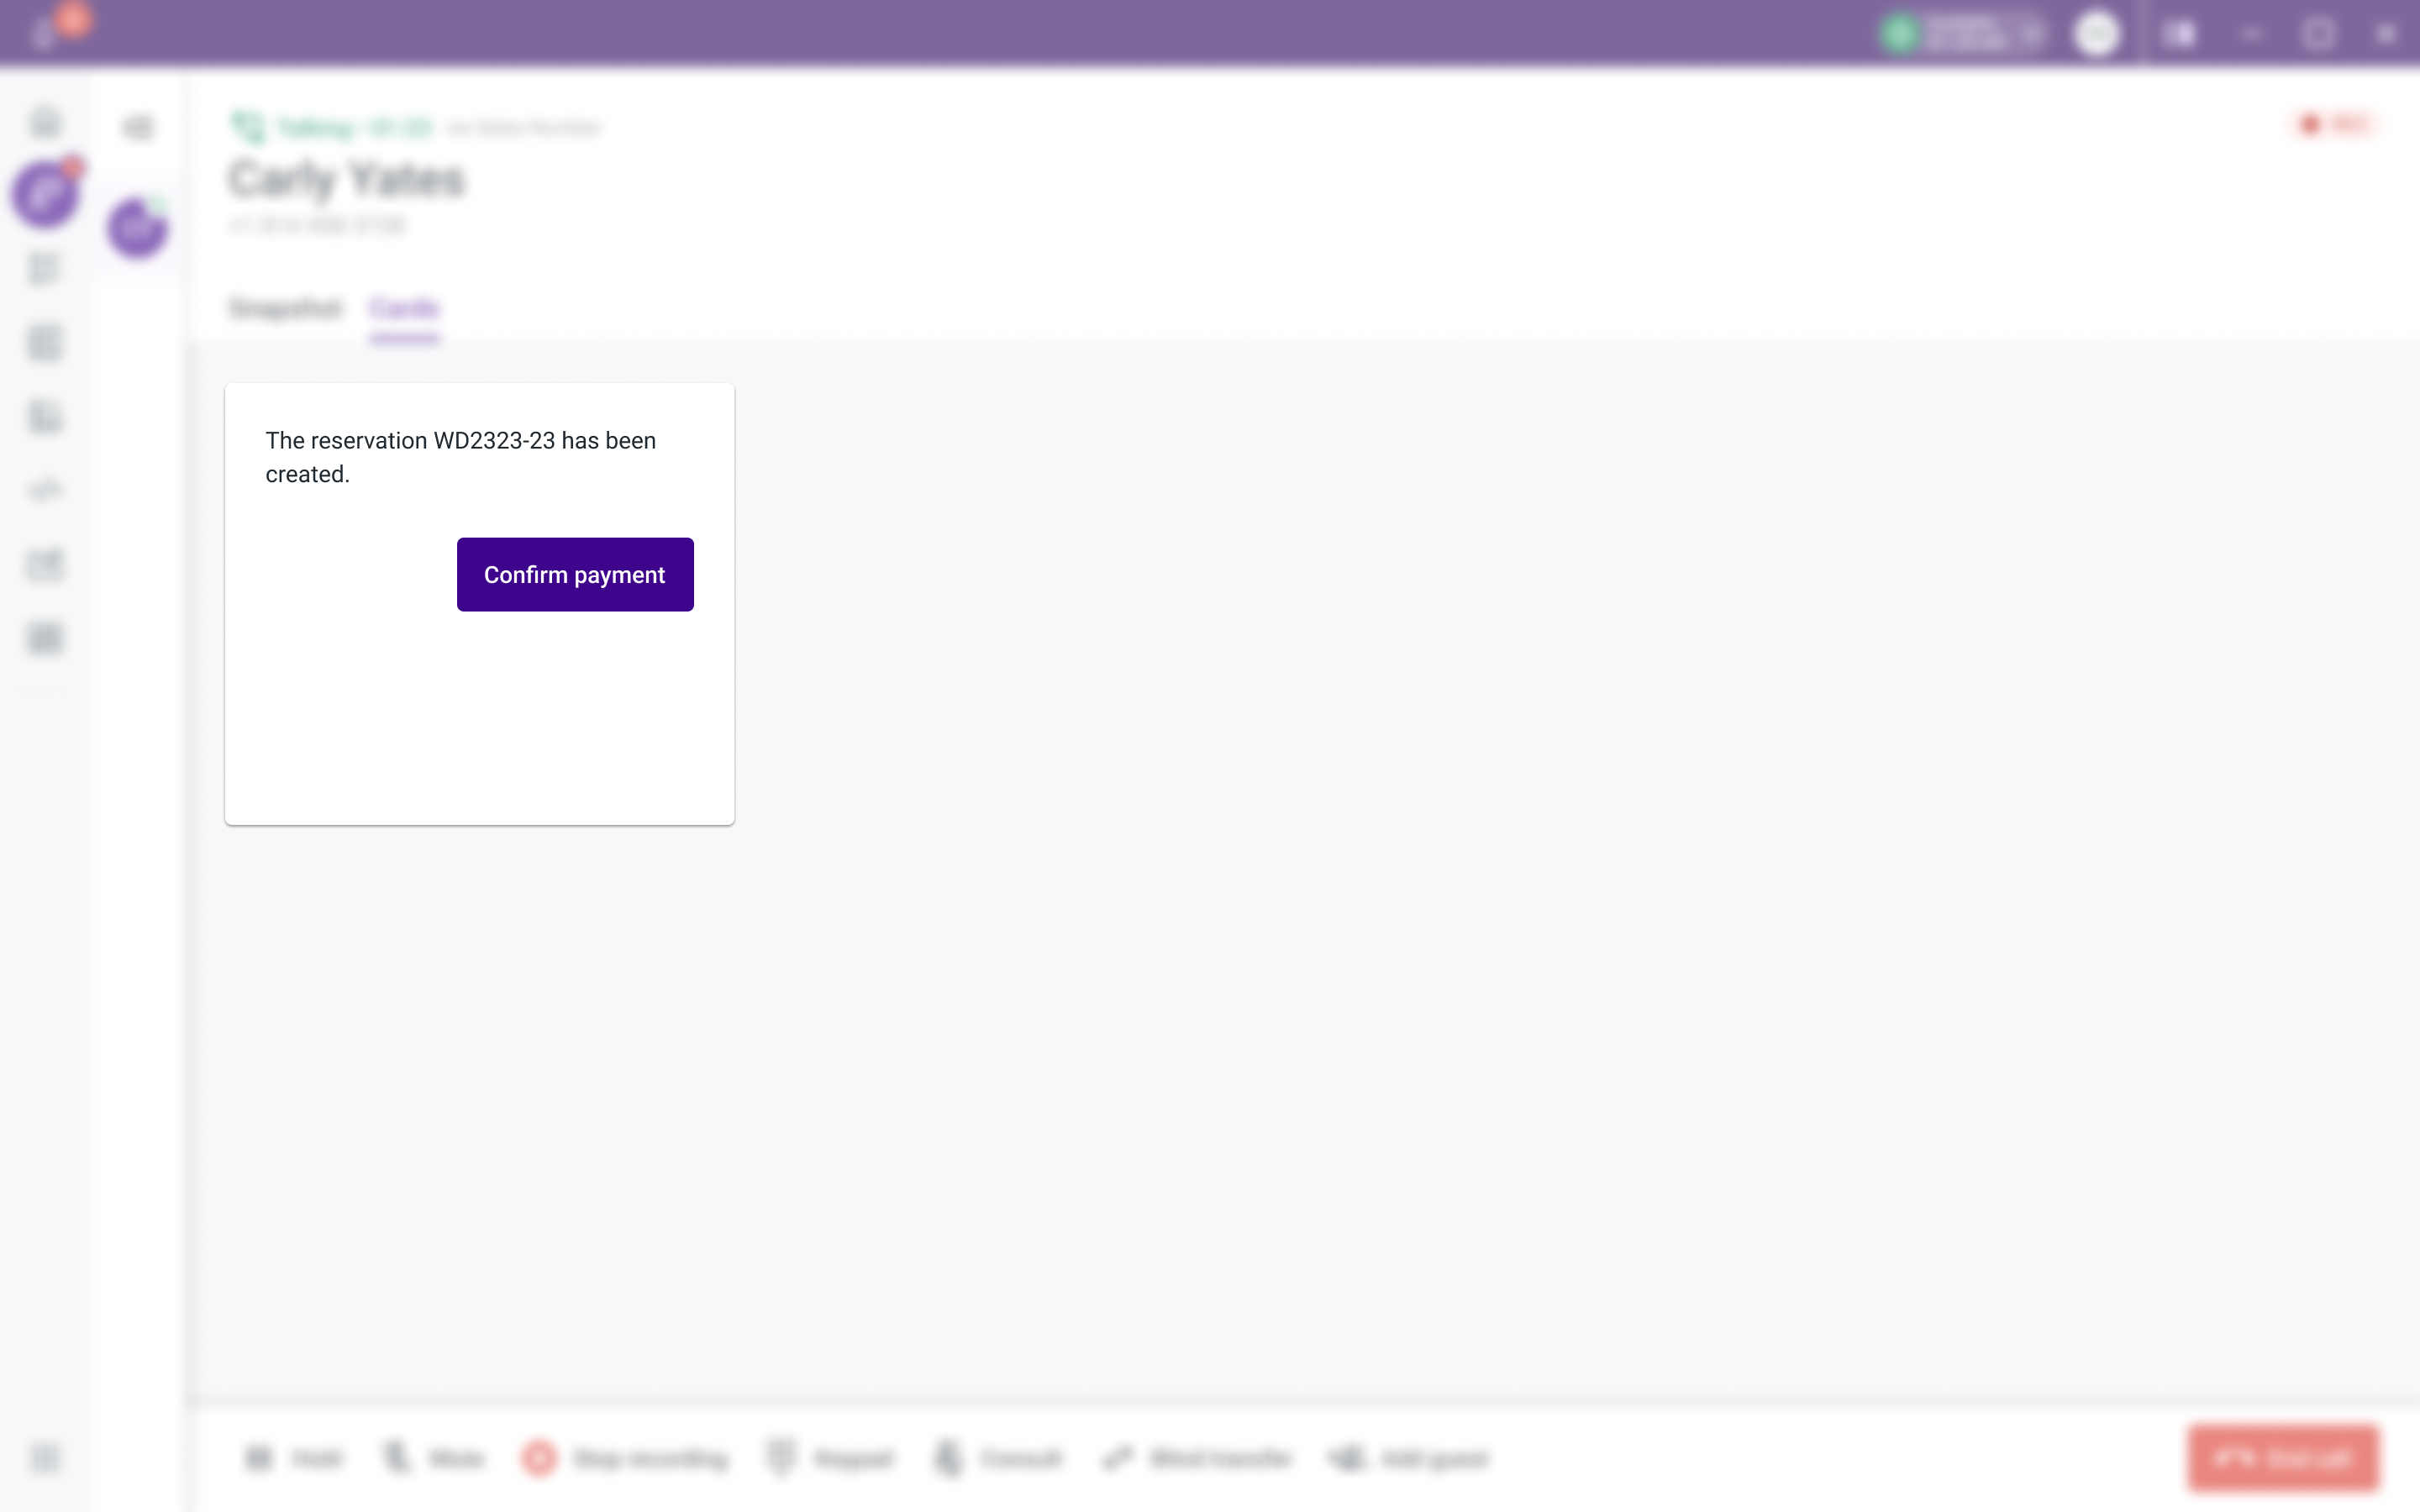
Figure 4 - Custom variables card example
Following an Exit
This example shows how you can use an Exit when the user clicks a Button.
In this scenario, when a Button is clicked, it executes the goToExit action and it will redirect the flow through the respective exit to the specified component (Figure 5).
<Flex padding="8" direction="column" gap="4" width="100%" height="100%">
  <Text>The reservation {Context.getVariable("reservation_id")} was successfully canceled.</Text>
  <Flex width="100%" alignX="end" height="100%" alignY="end"
   onClick={() => actions.goToExit("back")}>
    <Button>Go Back</Button>
  </Flex>
</Flex>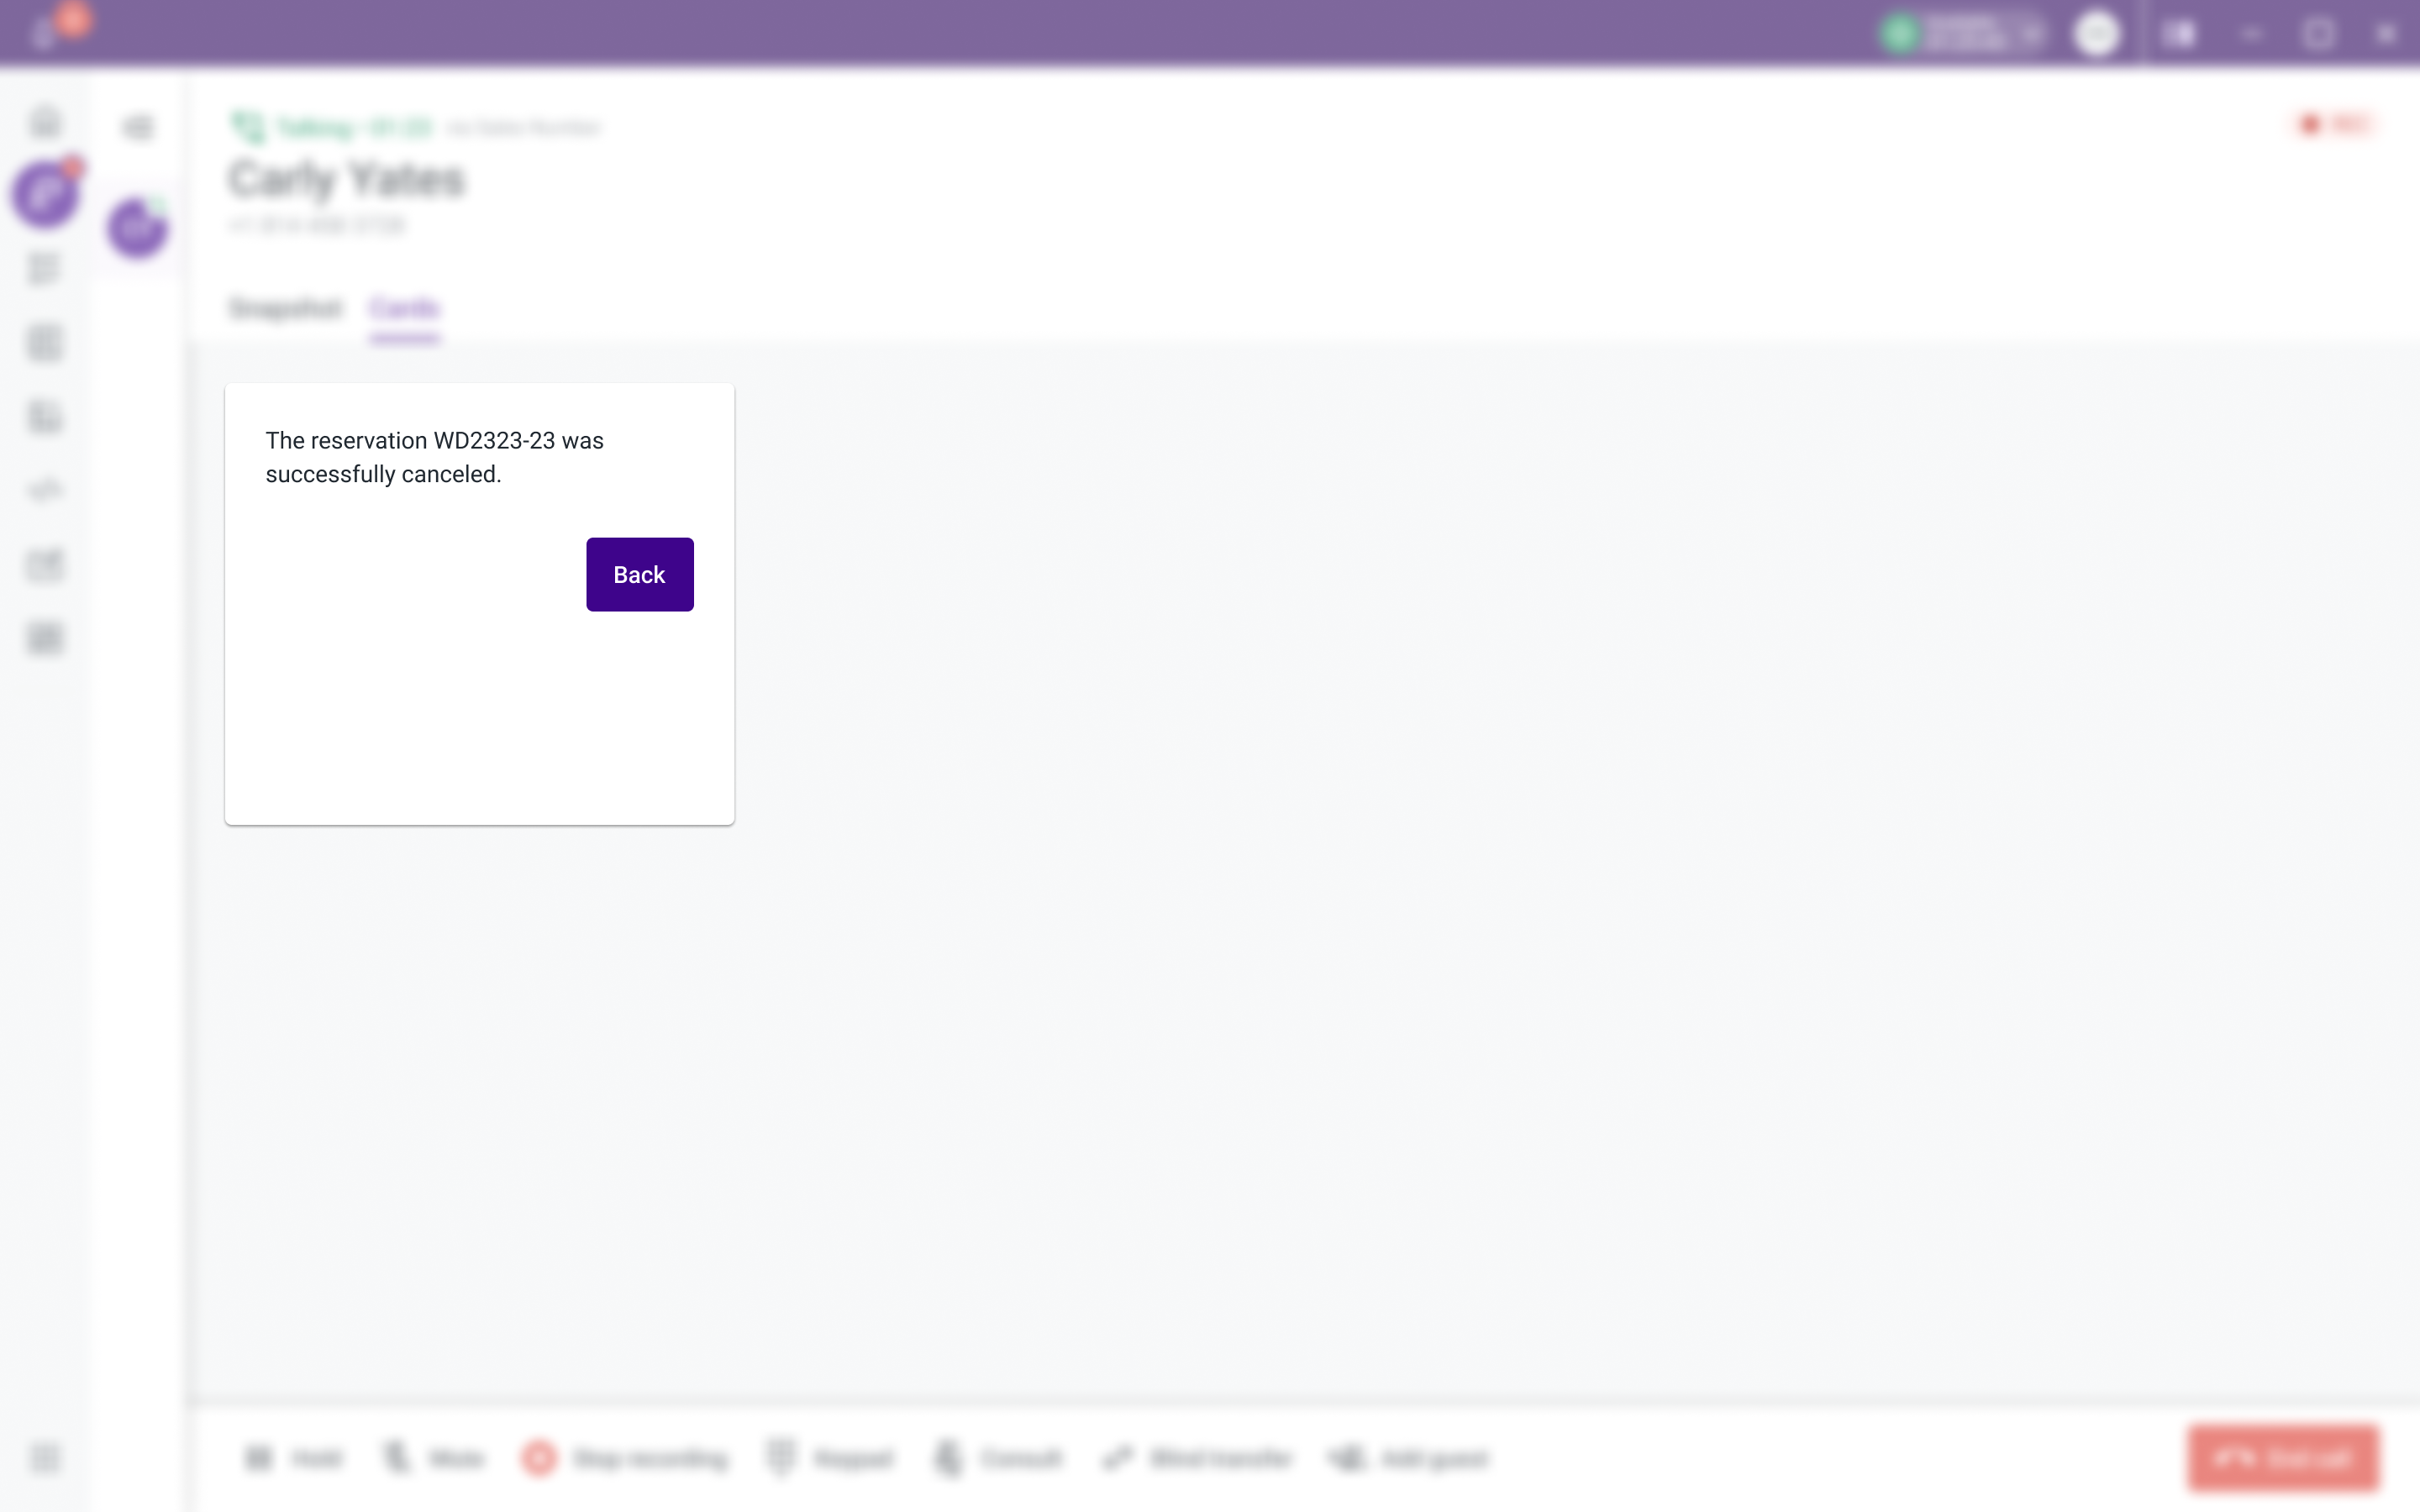
Figure 5 - Follow an exit code example
TroubleshootingIf you have questions or technical issues, please open a ticket using this form.
Updated 29 days ago